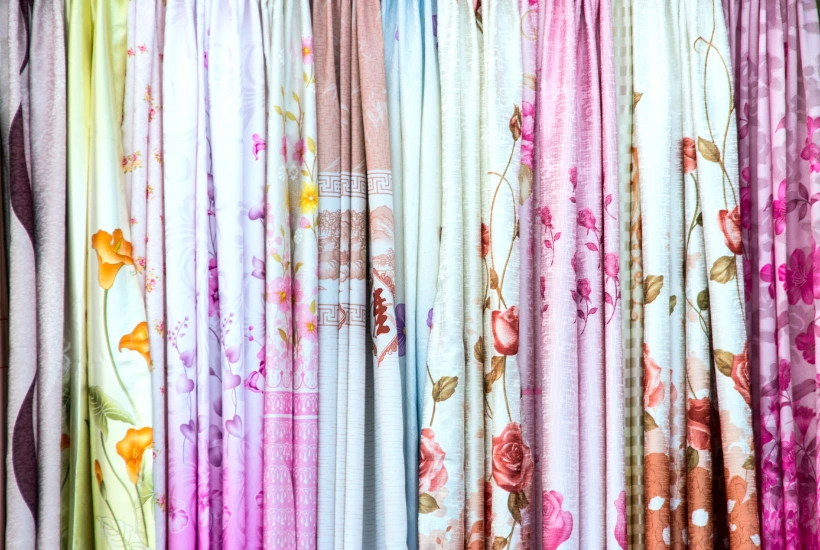
Transforming plain cotton curtains into a statement piece with a gradient or ombre effect is a fun and stylish way to enhance your home décor. Whether you are shopping for blinds and curtains in Dubai or updating your existing window treatments, this technique creates a smooth transition from light to dark, or from one color to another, giving your curtains depth and visual interest.
Cotton is an excellent choice for this project because its natural fibers absorb dye evenly, resulting in vibrant, long-lasting colors.
Materials You’ll Need
Before you start, gather all your materials. You’ll need:
- Cotton curtains or other 100% natural fiber fabrics. Synthetic blends do not absorb dye as well.
- Fabric dye suitable for cotton, preferably fiber-reactive dyes for vivid, colorfast results. Alternatively, general-purpose dyes can be used with salt or fixative.
- Buckets or bins for mixing dye baths.
- Protective gloves to keep your hands safe from stains.
- Plastic sheets or old towels to protect your work surface and floor.
- Stir sticks or tongs for handling the fabric.
- Optional: Spray bottles or sponges for more controlled dye application.
Having everything prepared ahead ensures a smoother, more predictable dyeing process, especially when working with sheer curtains.
Preparing Your Curtains
Proper preparation of your curtains is essential for a flawless gradient.
- Pre-wash the curtains to remove any finishes, sizing, or dirt that might repel dye. Clean fabric absorbs color more evenly.
- Dampen the fabric before dyeing. Wet fabric takes dye more uniformly, preventing streaks or blotches.
- Set up your workspace with protective covering and access to water. Dye can stain surfaces, so it’s best to work in an area where spills are easy to manage.
Choosing Colors and Dye Concentration
The key to a successful gradient is selecting the right colors and creating smooth transitions.
- Color choice: Choose analogous colors (colors next to each other on the color wheel) for a seamless look. You can also stick to varying shades of a single color for a classic gradient.
- Prepare multiple dye solutions: For the darkest to lightest gradient, prepare several dye baths of decreasing concentration. Diluting the dye progressively will help create a natural, gradual transition.
- Test on a scrap piece of fabric to confirm color combinations and concentration levels before applying them to your curtains.
Step-by-Step Dyeing Techniques
There are two main methods to achieve a gradient effect:
1. Dip Dye Technique
- Hang your damp curtain vertically.
- Immerse the bottom portion into the darkest dye first. This section will be the most saturated.
- Gradually lift the curtain out of the dye, allowing the color to fade naturally upward.
- Hold the fabric at different levels for varying amounts of time to create stages of color intensity.
- Repeat dipping in lighter dye concentrations for each section until you reach the top.
This method produces a smooth, continuous fade from bottom to top, giving your curtains a professional-looking gradient.
2. Spray or Brush Technique
- Apply the darkest dye at the bottom using a spray bottle or sponge.
- Gradually reduce the dye concentration as you move upward, blending carefully.
- Mist lightly with water to soften transitions and prevent harsh lines.
- Use a sponge or brush to blend areas that appear too defined.
This method offers more precise control over the gradient, especially for subtle color transitions or patterns.
Setting and Fixing the Dye
Setting the dye properly is critical for longevity:
- Heat setting: Follow the dye manufacturer’s instructions, which often involve applying heat to bond the color to the fibers.
- Rinsing: Once the gradient is complete, rinse the fabric in cold water until the water runs clear to remove excess dye.
- Drying: Air dry away from direct sunlight to protect the colors from fading. Avoid wringing or twisting the fabric, as this can distort the gradient.
Aftercare for Your Dyed Curtains
Proper maintenance will keep your curtains looking fresh:
- Wash in cold water with a mild detergent.
- Avoid bleach or harsh chemicals that can strip color.
- Store or hang curtains away from prolonged direct sunlight to preserve the gradient effect.
Safety Tips and Troubleshooting
- Always wear gloves to protect your hands from staining and irritation.
- Keep fabric flat and untangled while dyeing to prevent uneven patches.
- Conduct a small test on leftover fabric or a hidden area to anticipate color behavior.
- If the gradient looks uneven, additional light layers of dye or gentle blending with water and a sponge can correct minor inconsistencies.
Conclusion
Creating a gradient effect on cotton curtains is a creative way to add personality and style to your home. By carefully selecting colors, preparing your curtains, and using either a dip or spray dyeing technique, you can achieve a professional-looking ombre effect. With proper setting, rinsing, and aftercare, your curtains will remain vibrant and eye-catching, making your space feel fresh, personalized, and on-trend.
Related posts:
20+ Mind-Blowing Funky Apartment Decors To Get Groovy
Essential Exterior Home Maintenance Tasks Every Homeowner Should Know
From Chaos to Calm: Design a Mudroom Your Pets Will Love
The Art of Slow Living: Transform Your Home Into a Creative Sanctuary
Designing Your Dream Kitchen on a Budget: Where to Save Without Sacrificing Style
15+ Christmas Decorations on a Budget To Make In

- Creating a Family Emergency Plan Without Adding Stress - October 22, 2026
- How to Make the Most of Shoulder-Season Travel for Road Trips - October 22, 2026
- How to Reduce the Mental Load of Managing Your Child’s School Life - October 22, 2026

Leave a Reply