Metal wall art brings a distinct elegance and modern flair to any interior, transforming a simple wall into a focal point. However, the unique material and often considerable weight of these pieces can make the hanging process seem daunting. Understanding precisely how you hang metal artwork securely and aesthetically is key to preserving both your art and your walls.
From sleek, minimalist prints to intricate, sculptural designs, metal art comes in many forms, each with its own installation nuances. The goal is always a stable display that complements your space without causing damage. This guide explores the most effective methods, ensuring your metal pieces are presented beautifully and safely.
Understanding your metal artwork and its requirements
Before you even think about picking up a hammer or drill, take a moment to assess the specific characteristics of your metal art. Not all metal art is created equal, and its design, material, and weight will dictate the most appropriate hanging strategy. A lightweight aluminum print will require a different approach than a heavy, laser-cut steel sculpture.
Consider the type of metal used. Aluminum is often lighter and more flexible, while steel or iron pieces tend to be much heavier and more rigid. The artwork’s construction is also important; some pieces come with pre-installed hanging mechanisms like D-rings, keyhole slots, or aluminum backframes, while others might be flat panels requiring external solutions. Always check for any manufacturer recommendations or included hardware, as these provide the best starting point for a secure installation.
Assessing weight and size for optimal support
The weight of your metal art is arguably the most critical factor in determining your hanging method. A small, light piece might be safely secured with adhesive strips, but a larger, heavier item demands a more robust solution that engages wall studs or uses heavy-duty anchors. Underestimating the weight can lead to your artwork falling, causing damage to both the piece and your wall.
Similarly, the dimensions of the artwork play a role. A wide piece might benefit from multiple hanging points to distribute weight evenly and prevent warping over time. For those seeking contemporary and bold aesthetics, exploring options like those found on luxuryartcanvas.com can provide inspiration for various sizes and styles, each potentially requiring a tailored hanging approach.
Preparing your space and gathering essential tools
A successful installation begins with careful preparation. Rushing this stage can lead to misaligned art, unnecessary holes, or an unstable display. Take the time to plan your placement, measure accurately, and gather all the necessary equipment before making any permanent changes.
Visualizing the artwork’s position on the wall is a crucial first step. Hold the piece up, or have someone assist you, to find the ideal height and centering. Use painter’s tape to mark the top corners or outline the entire piece. This allows you to step back and confirm the placement without making any marks on the wall itself. Once satisfied, you can accurately mark the specific points where your hangers will be installed.
Essential tools for hanging metal wall art
Having the right tools on hand streamlines the process and ensures a professional finish. Here is a list of items you might need:
- Measuring tape or ruler
- Pencil (for marking)
- Level (a digital level or a traditional bubble level)
- Stud finder (for heavier pieces)
- Drill with appropriate drill bits (for anchors or screws)
- Hammer (for tapping in anchors or picture hanging nails)
- Screwdriver (manual or electric)
- Wall anchors (various types depending on wall material and weight)
- Mounting hardware (screws, nails, hooks, D-rings, French cleats)
- Adhesive strips or hooks (for lightweight pieces)
- Painter’s tape
- Protective gloves (for handling metal edges)
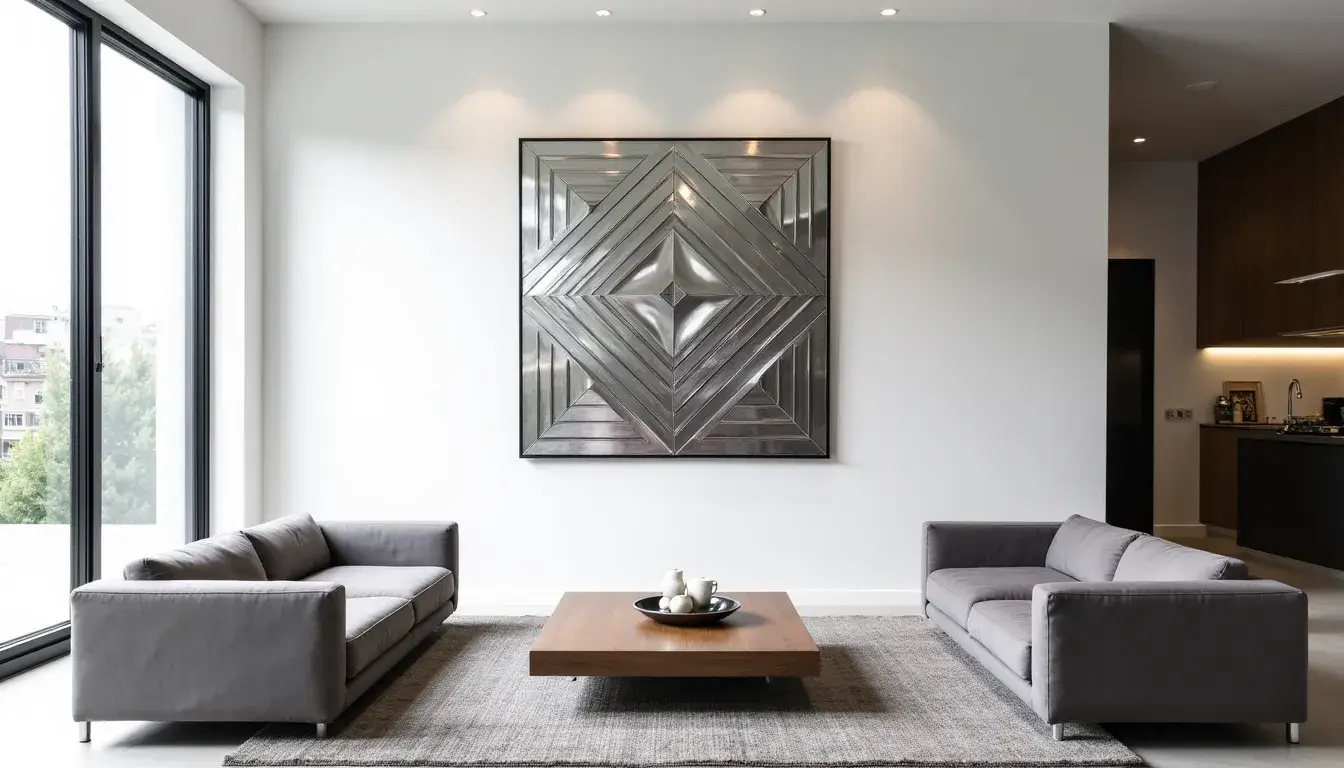
Choosing the right hanging method for your metal art
The diversity of metal art calls for a range of hanging solutions. Selecting the most suitable method depends on the artwork’s weight, the wall material, and your desired aesthetic outcome. Whether you aim for a flush mount or a floating effect, there is a technique to match.
Adhesive-based solutions for lightweight pieces
For metal art that is particularly light, typically under a few pounds, high-strength adhesive strips or hooks offer a convenient, damage-free option. These are ideal for renters or anyone who prefers to avoid drilling holes in their walls. Ensure the wall surface is clean, dry, and smooth for optimal adhesion. Always check the weight rating of the adhesive product and compare it to your artwork’s actual weight, opting for a product that significantly exceeds the art’s weight for added security.
Some metal prints come with integrated adhesive pads or are designed to be mounted on a separate adhesive-backed frame system. These often allow for repositioning, offering flexibility in your display choices.
Hardware-based solutions for medium to heavy metal art
When dealing with heavier metal artwork, relying on robust hardware is non-negotiable. These methods provide a secure, long-lasting installation, often distributing the weight more effectively. For maximum security, always try to anchor into a wall stud. If a stud isn’t available at your desired hanging point, use appropriate wall anchors designed for the weight of your artwork and the type of wall material (drywall, plaster, concrete).
Common hardware options and their applications:
| Hanging Method | Ideal Weight | Wall Type Suitability | Key Advantage | Considerations |
|---|---|---|---|---|
| Keyhole Hangers | Light to Medium | Drywall, wood (with screws) | Flush mounting, often pre-installed | Requires precise measurement for screw placement |
| D-Rings / Sawtooth Hangers | Light to Medium | Drywall, wood (with nails/screws) | Versatile, easy to use with picture hooks | May not allow for super flush mount; single point of balance |
| French Cleats | Medium to Heavy | Drywall (with anchors/studs), wood | Extremely secure, distributes weight evenly, flush look | Requires two parts (one on wall, one on art), careful leveling |
| Aluminum Backframes | Medium | Drywall (with anchors/studs), wood | Creates a floating effect, clean appearance | Specific to metal prints, often factory-installed |
| Standoffs | Light to Medium | Drywall (with anchors), wood | Modern, industrial look; art floats from wall | Requires drilling through the art itself (if not pre-drilled) and wall |
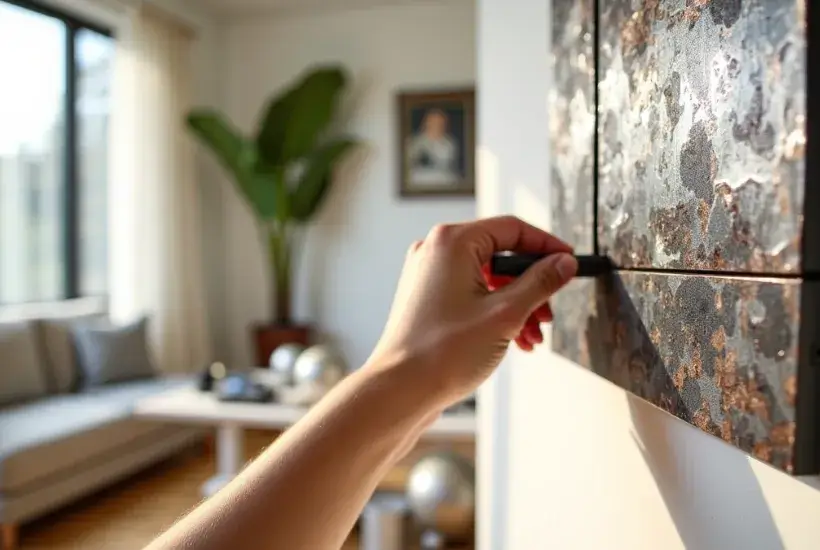
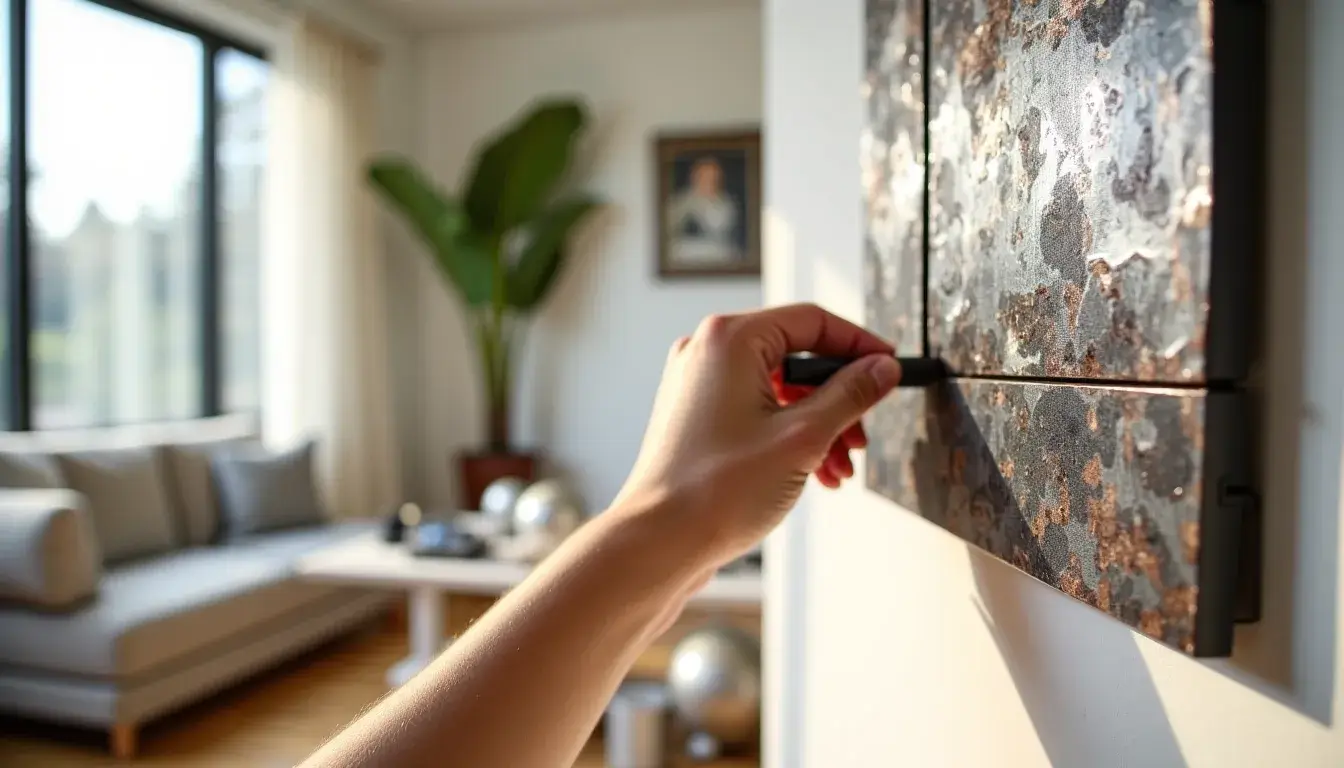
Step-by-step techniques for how you hang metal art
Once you’ve chosen your method and gathered your tools, the installation process becomes a series of precise steps. Following these guidelines will help ensure a secure and visually appealing display.
Using keyhole hangers or D-rings
Many metal artworks come with keyhole slots or D-rings on the back. These are designed for simple hook-and-nail or screw installation:
- Measure the distance: If using multiple keyholes or D-rings, measure the exact distance between their centers. For a single keyhole, measure from the top of the art to the top of the keyhole.
- Mark the wall: Transfer this measurement to your wall. Use a level to ensure your marks are perfectly horizontal if using multiple points.
- Install hardware: For keyholes, install screws into your marked points, leaving the screw head slightly out so the keyhole can slide over it. For D-rings, install picture hooks or screws into the wall that align with the rings. If not hitting a stud, use appropriate wall anchors.
- Hang the art: Carefully lift your metal art and align the keyholes or D-rings with the installed hardware. Gently lower the art into place. Adjust as needed.
Installing a French cleat system
A French cleat is a two-part system that offers exceptional strength and stability, particularly for heavier pieces. One part attaches to the wall, and the other to the back of the artwork.
- Attach cleat to art: Secure one half of the cleat to the back of your metal art, ensuring it is perfectly centered and level. Use screws that are appropriate for the art’s material and thickness.
- Mark wall placement: Determine the desired height for your art. Hold the artwork (with its cleat attached) against the wall and mark the top edge of the cleat.
- Install wall cleat: Measure down from your mark to find the precise placement for the wall-mounted cleat. Use a stud finder to locate studs and screw the wall cleat securely into at least two studs if possible. If studs are not accessible, use heavy-duty wall anchors designed for the cleat’s weight capacity. Ensure the wall cleat is perfectly level.
- Hang the art: Once the wall cleat is firmly in place, lift your metal art and gently lower its cleat onto the wall cleat. The angled design will interlock, creating a strong, secure hang.
Working with aluminum backframes or standoffs
Metal prints often come with an aluminum backframe, which creates a floating effect. Standoffs also create this effect but require drilling through the art itself.
- For backframes: These usually have a hanging wire or a cleat system integrated. Measure the distance from the top of the frame to the hanging point. Mark this on your wall, ensure it’s level, and install a sturdy picture hook or screw (with an anchor if needed) at the marked spot.
- For standoffs: If your art is not pre-drilled, carefully mark the drill points on the metal art itself, ensuring they are symmetrical. Drill holes through the metal art (use a drill bit suitable for metal). Transfer these points to your wall, ensuring perfect alignment. Drill holes in the wall, insert anchors, and then mount the standoff barrels. Finally, place the artwork over the barrels and secure it with the standoff caps.
“The true art of hanging is not just about placing a piece on a wall, but about creating an experience. Each measurement, each anchor, each careful adjustment contributes to the lasting impact and safety of your display.”
Ensuring long-term stability and avoiding common pitfalls
A properly hung piece of metal art should remain stable and secure for years to come. However, certain mistakes can compromise its integrity or even damage your walls. Being aware of these common issues can save you time and frustration.
Matching the method to the wall type and artwork weight
One of the most frequent errors is using an inadequate hanging method for the weight of the artwork or the type of wall. A heavy metal sculpture hung only with a small picture nail into drywall is a recipe for disaster. Always consult the weight ratings of your chosen hardware and anchors. For drywall, if a stud isn’t available, toggle bolts or self-drilling anchors are generally more secure for heavier items than simple plastic anchors.
Never attempt to hang a heavy piece using only weak adhesives, especially on textured or uneven surfaces. The adhesive might fail, causing the artwork to fall. Similarly, avoid drilling directly through the metal panel of an artwork unless it’s specifically designed for standoffs or other through-mounting hardware. This can damage the finish or compromise the structural integrity of the piece.
The importance of leveling and proper spacing
A crooked piece of art can detract from even the most stunning display. Always use a level, whether it’s a traditional bubble level or a smartphone app, to ensure your marks are perfectly horizontal before drilling or installing hardware. For multi-piece installations or gallery walls, take extra care with spacing. Use a consistent measurement between pieces to create a cohesive and professional look.
Once the art is hung, step back and observe it from various angles in the room. Make any minor adjustments necessary to achieve perfect alignment. Sometimes, even if the hardware is level, the art itself might need a slight nudge to sit just right.
Final considerations for a perfect display
Successfully hanging metal wall art involves a blend of careful planning, precise execution, and an understanding of the materials at hand. By taking the time to choose the right method and employing the correct tools, you ensure your artwork is not only secure but also presented in the best possible light.
Remember that the goal is a seamless integration of the art into your living or working space, enhancing its aesthetic appeal without concern for stability. With these techniques, you’re well-equipped to transform any wall into an impressive gallery of metal artistry.
Related Posts
Related posts:
30+ Fun and Festive DIY Christmas Crafts For Adults
15+ Best DIY Macrame Wall Hanging Patterns That'll Spruce Up Your Space
Transform Your Garage Into a Climate-Controlled Extension
25+ Driftwood Wall Hanging Ideas For Your Home Decor
Garage Door Buying Guide: Key Features, Materials, and Costs
17 Best DIY Christmas Cardboard Decorations for

- Simple ways to elevate your kitchen - July 20, 2026
- Why Having a Few Go-To Outfits Can Make Mornings So Much Easier - July 20, 2026
- Roof Refresh Tips That Enhance Style and Functionality - July 20, 2026

Leave a Reply