When I decided to grow microgreens, I only did slight research to figure out the best way to do it. I read one blog post and watched a few YouTube videos, and then I thought I was ready to go. But boy was I wrong! If only someone had told me these seven things before I started spending money to grow microgreens, it would have saved me a lot of time and money.
Here are seven things I wish I knew before spending money to grow microgreens.
1. Doing thorough research

This may seem like a no-brainer, but it’s really important to do your research before you start growing microgreens. There is a lot of information out there, and it can be overwhelming. But if you take the time to read articles, watch videos, and talk to other growers, you’ll be much better prepared.
You’ll also need to analyze and project the cost of making your microgreen garden. This can range from $30 to $6000, depending on the scale of your operation and whether or not you need a greenhouse.
Without thorough research, you would not have known that there are so many ways to grow microgreens. You would also be surprised by how much money it can cost to get started and run your microgreen garden.
2. Getting the right supplies
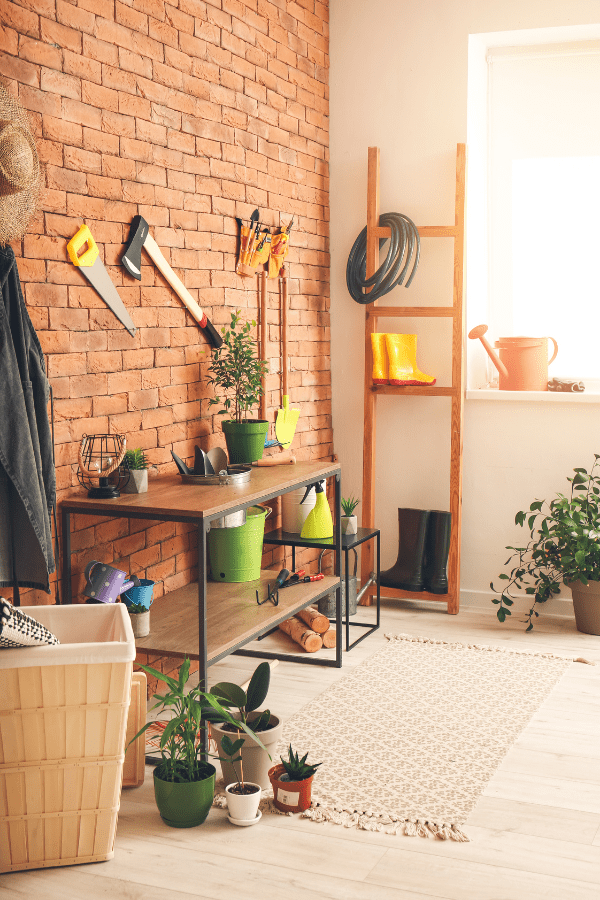
You’ll need potting mix, pots, and trays if you’re growing in soil. If you’re cultivating hydroponically, a grow bed, reservoir, pump, and tubing are required.
If you’re planning to grow indoors, you’ll need to provide artificial light for your plants. LED grow lights are a good option because they are energy-efficient and emit very little heat.
For seeds, make sure to get non-GMO, certified organic seeds from a reputable source. This is important to avoid pesticides and chemicals. The best microgreen seeds are alfalfa, arugula, beet, broccoli, cabbage, and kale because they are easy to grow and have a high germination rate.
Finally, you’ll need a way to water your plants. A simple watering can do the trick if you’re growing in soil. But if you’re using hydroponics, you’ll need a submersible pump to circulate the water.
You’ll also need some basic gardening supplies like gloves, scissors, and a watering can.
3. Follow the right growing schedule

Microgreens need to be watered daily, and they should be fertilized once a week. They should also be given 16-18 hours of light per day, so if you’re growing indoors, you’ll need to provide artificial light.
If you don’t have a growing schedule, your plants will likely become leggy and produce fewer leaves.
To avoid this, make sure to start with a seedling mix that has been pre-fertilized. You can also use an organic liquid fertilizer or compost tea.
Once your plants have germinated, thin them out so that only the strongest seedlings remain.
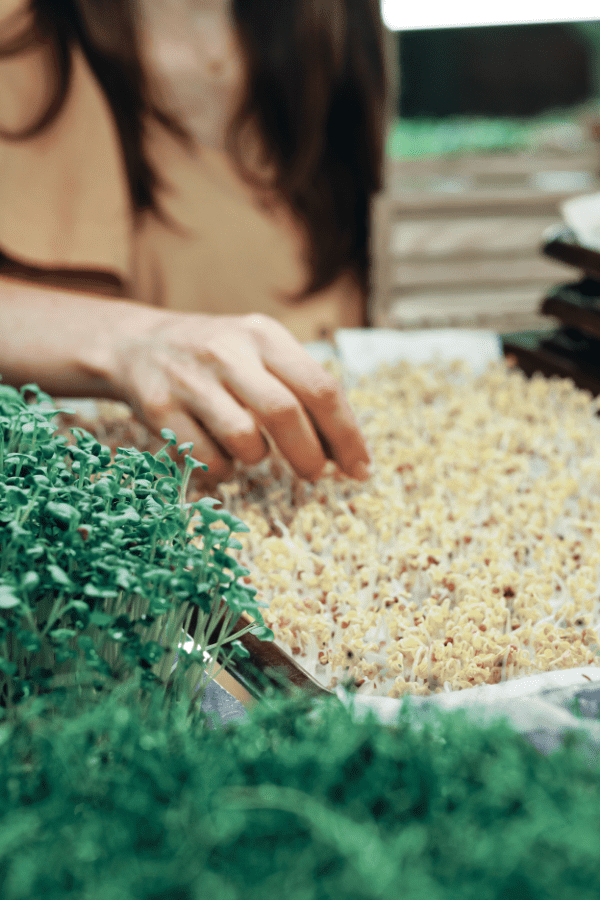
4. Monitor crops regularly
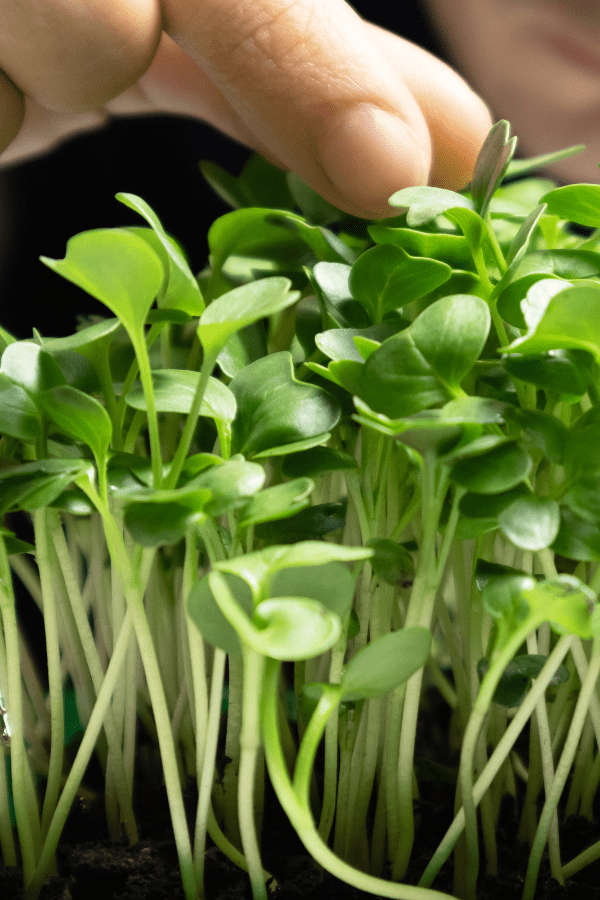
You should check on your microgreens daily to make sure they are getting enough water and light. For microgreen and produce safety, If you see any pests or diseases, take action immediately.
Pests and diseases can ruin your crop, so it’s important to be vigilant. Check for signs of pests like aphids, whiteflies, and spider mites. And look out for diseases like powdery mildew and downy mildew.
If you notice any problems, there are a number of organic solutions you can use to get rid of pests and diseases.
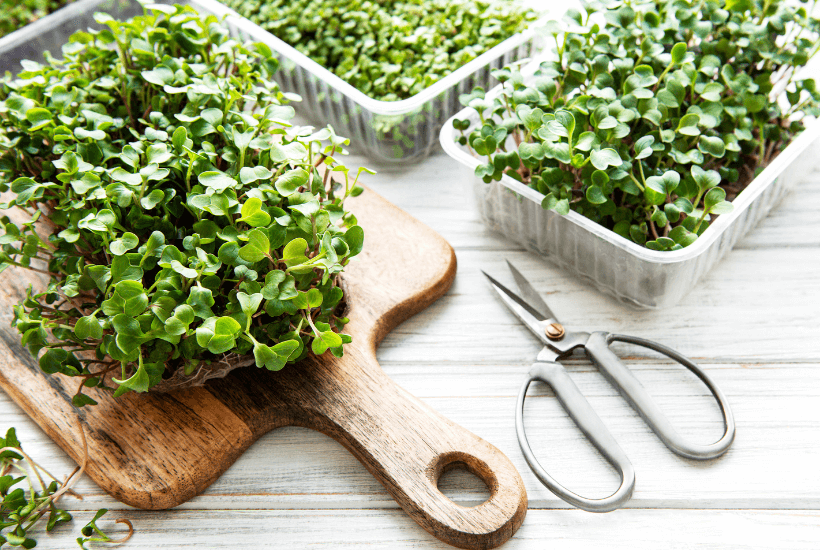
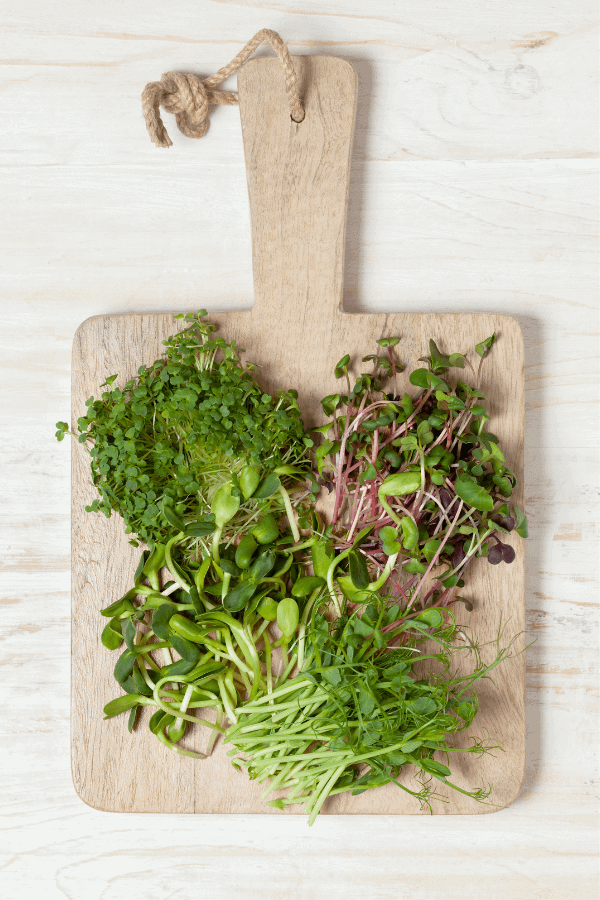
5. Harvest at the right time
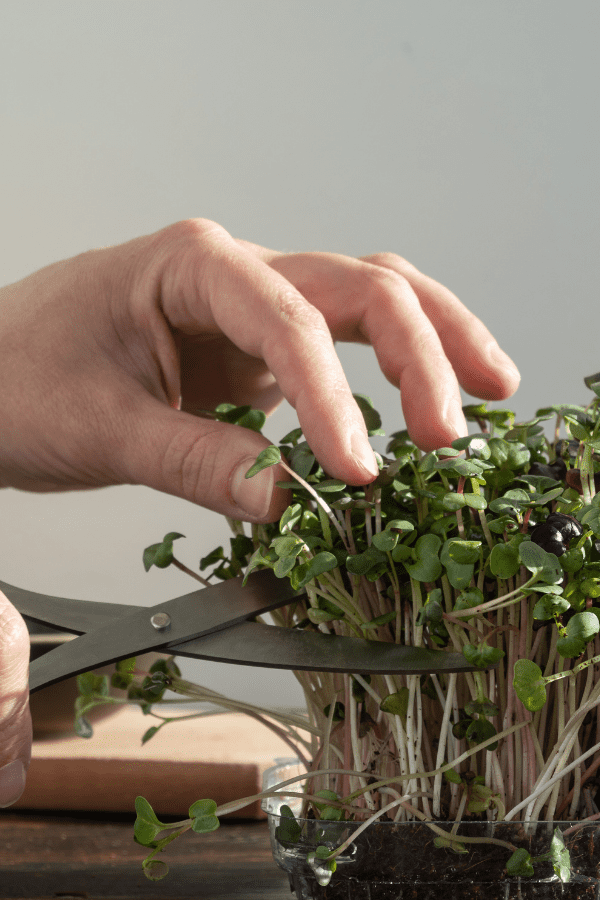
Microgreens are ready to harvest when they are about two inches tall. Use sharp scissors to cut the greens at the base of the stem.
You can harvest your microgreens a few leaves at a time, or you can wait until the plant is fully mature and then cut the entire plant.
When you fail to harvest your microgreens at the right time, they will become tough and bitter. If you harvest it too early, it will be too small. So make sure to keep an eye on them and harvest them as soon as they are ready.
6. Store and use your microgreens correctly
Once you’ve harvested your microgreens, it’s important to store them properly.
Microgreens should be stored between damp paper towels to keep them fresh for a long time. Next, place them in a resealable plastic bag or container, and store them in the fridge. Done! Your microgreens will last approximately a week if kept this way.
You can also use a dehydrator to make your greens last even longer or you can freeze them.
7. Growing microgreens is a constant responsibility
One of the things I didn’t realize before I started growing microgreens is that it is a constant responsibility. You can’t just set up your grow operation and then forget about it.
You need to water your plants daily, fertilize them weekly, and monitor them for pests and diseases. If you don’t, your crop will suffer.
After harvesting, it won’t just simply grow on its own again. You need to replant the seeds and start the whole process over again.
In Conclusion
Despite the constant upkeep, growing microgreens is a fun and rewarding experience. It’s a great way to get fresh, healthy greens all year round when you’re a cooking enthusiast. You’ll be able to try different tasty microgreen recipes that will get you to a healthier diet. If you’re lucky, you might even be able to sell your microgreens to local restaurants or at farmer’s markets.
📌 Follow Me On Pinterest!
📌 Pin To Save For Later!

- 7 Door Handle Finishes That Elevate Modern Interiors - December 17, 2025
- How to Choose the Right Shower Tray for Your Bathroom Remodel - December 17, 2025
- Effortless DIY Kid-Safe Christmas Decor Ideas - December 11, 2025

Leave a Reply