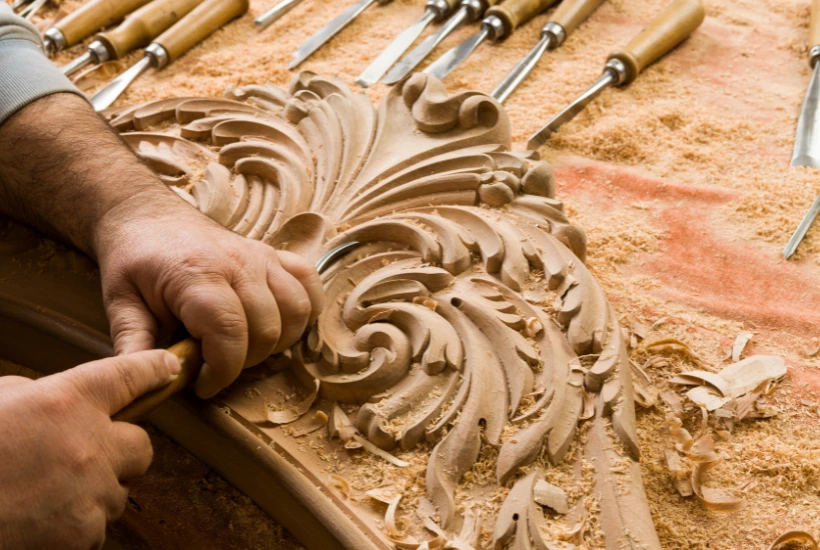
Chip carving is a type of decorative carving in which the pattern is created be removing small chips from the wood surface. For beginners trying to figure out what chip carving is, it’s important to know that success depends not only on a sharp knife; proper hand and blade angles are equally important.
How to Hold a Chip Carving Knife: Grip, Angle, and Hand Fatigue
The proper grip technique for a chip carving knife is important for achieving precision and ensuring comfort during the process. It is important to hold the tool confidently while avoiding too much pressure to perform the movements smoothly. There are many artisans who prefer using chip carving knives from Sharky Forged Steel Tools because the comfortable grip prevents fast fatigue.
Gripping the knife too tightly limits the blade’s movement and quickly overstrains the hand. Instead, a light, controlled grip lets you feel the chip knife more clearly while working and more precisely control the depth of the cut. This is the basis of chip carving for beginners, when it is important to learn not to press the tool excessively.
Three- and Four-Sided Chips: The Most Common Pattern Every Beginner Should Master First
Chip carving uses triangular and quadrangular chips as its primary design elements. The correct cutting of these materials requires following a guideline that specifies an approximate 45-degree cutting angle. This angle helps produce clean chips and sharp patterns.
To make the element neat, all the cuts must converge to a single point. If the corners do not converge, the chip will not separate completely, leaving the surface uneven. It is important for beginners to learn the following basic rules:
- hold the chip carving knife at an angle of about 45 degrees;
- make all cuts to one central point;
- do not change the depth of the cut within one element.
These skills are the foundation for further work with more complex ornaments.
Straight-Wall Chips: How to Cut Vertical Sides and Find the Deepest Point
Some ornaments require creating chips with straight walls. In this case, the chip knife is inserted almost vertically, at an angle of 85–90 degrees. This allows you to create clear edges and emphasize the pattern’s geometry.
For large elements, additional chip carving tools are sometimes used, such as a thin detailing knife. It helps complete the final cut more precisely and carefully remove the chip without damaging adjacent lines.
Curved-Side Chips: How to Adjust Your Blade Angle as the Line Changes Direction
When cutting curved elements, the knife angle must be adjusted. If 45 degrees are used on a straight line, then on bends the angle can be reduced to 30 degrees. This helps the blade follow the curve smoothly.
For more precise control, craftsmen often imagine a curved line as a series of short straight segments. It is important to work on a smooth wood surface.
Free-Form Chips: Cutting V-Shaped Grooves Along a Curved Path
Free-form elements differ from classic elements instead of meeting at one point, the cuts form a deep center groove. The chip carving knife creates a V-shaped groove through its cutting path, which follows a curved trajectory.
For high-quality execution, you need to:
- change the angle of the blade depending on the width of the pattern;
- maintain a consistent cutting depth;
- work smoothly without sudden movements.
Such techniques allow you to create more decorative and expressive patterns.
The Secret Behind Beautiful Chip Carving Patterns: Positive Space, Negative Space, and Shadow
The beauty of chip carving depends not only on the cutting technique, but also on the play of light and shadow. Light wood species make the pattern more expressive, since each chip creates a deep shadow.
The shape of the walls also affects the appearance of the ornament. Straight walls create a strict graphic effect, while sloping walls create softer transitions of light. Correct use of chip carving tools helps make the ornament deeper, cleaner, and more professional.
Related posts:

- Best house cleaning services in Phoenix - October 23, 2026
- 12 Best Gifts for Plant Lovers (Including One They Can’t Overwater) - October 23, 2026
- Creating a Family Emergency Plan Without Adding Stress - October 22, 2026

Leave a Reply