Stay with it to #1. It holds a small trick from 1872 that you could use this weekend.
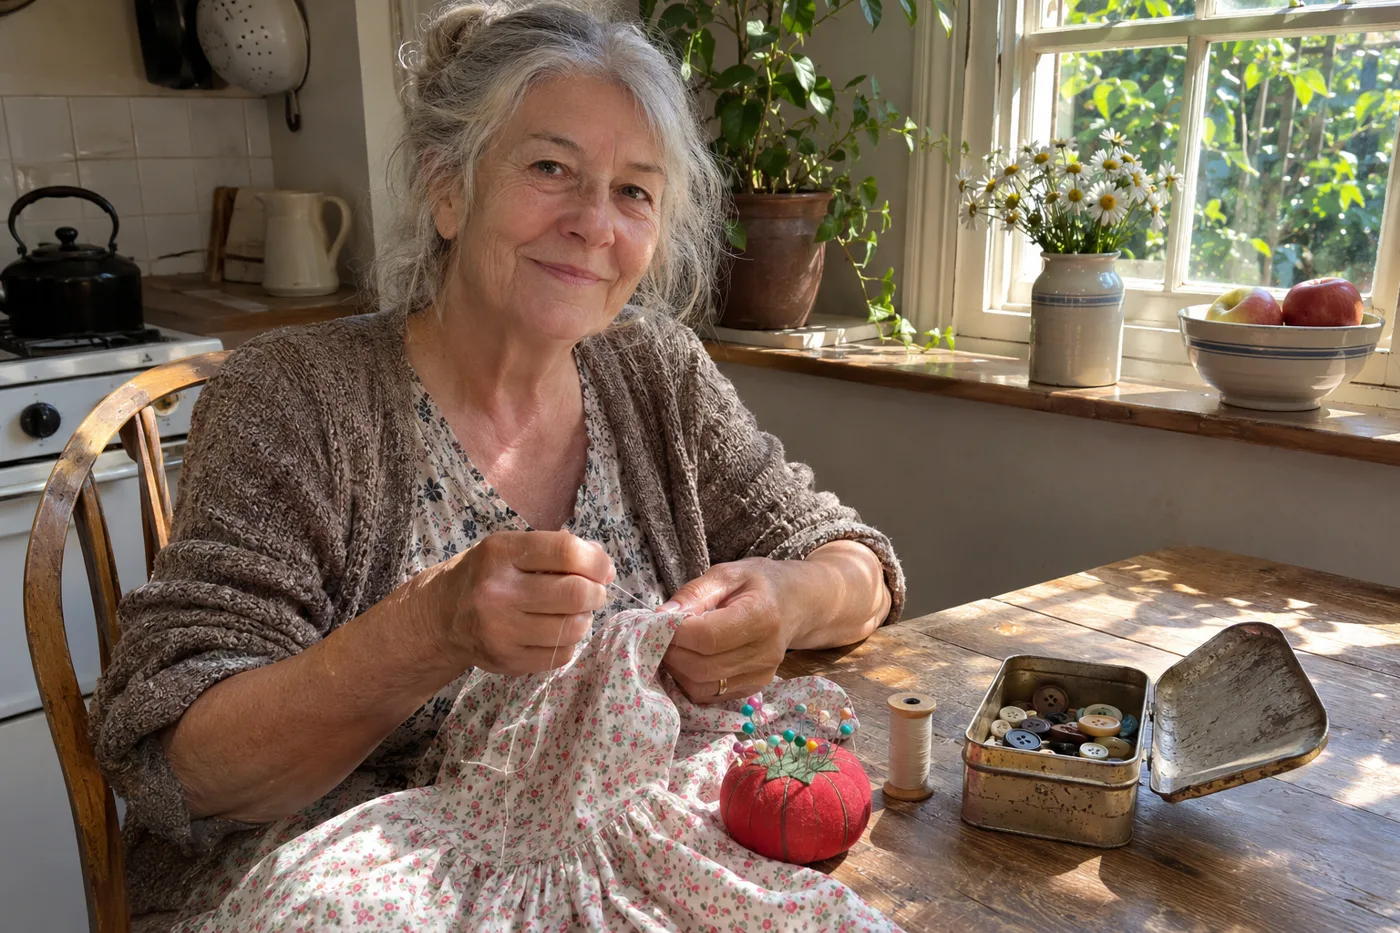
The tomato pincushion sat by the sugar bowl, bristling with pins. Next to it was a cookie tin that rattled when you shook it, because it held every button that ever came off anything.
In plenty of houses, the kitchen table was also the mending table, and torn things went there instead of the trash.
#19 Darning a sock over an egg or a lightbulb
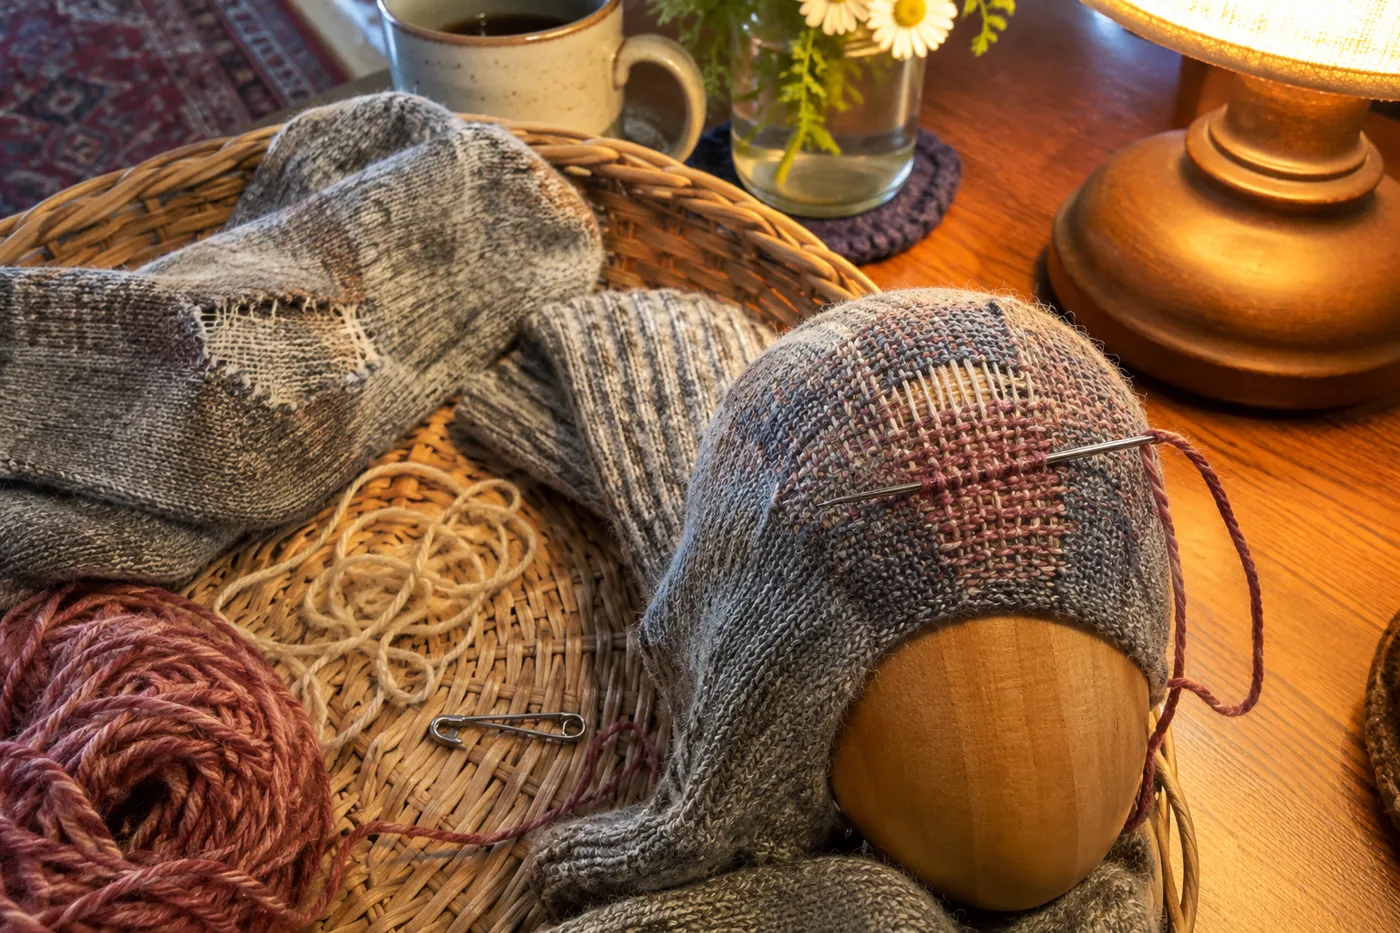
The sock went on like a puppet, the hole stretched tight over the top. Then the needle went back and forth, rows one way and woven rows the other, until there was cloth where the hole had been. That last part looked like magic.
The egg did half the work. A darning egg is a smooth tool of wood, porcelain or stone that sits inside the heel or toe and holds the shape while you weave.
Among darning tools, Edward Pinto, an expert on old wooden household things, called the egg “the oldest shape in common use.” A sewing manual from 1916 said to hold it in your left hand and slip it under the hole.
No darning egg in the house? The usual stand-ins were light bulbs, lacrosse balls and lemons. So a light bulb in your mother’s hand was standard equipment.
#18 A button sewn on so it never pops off
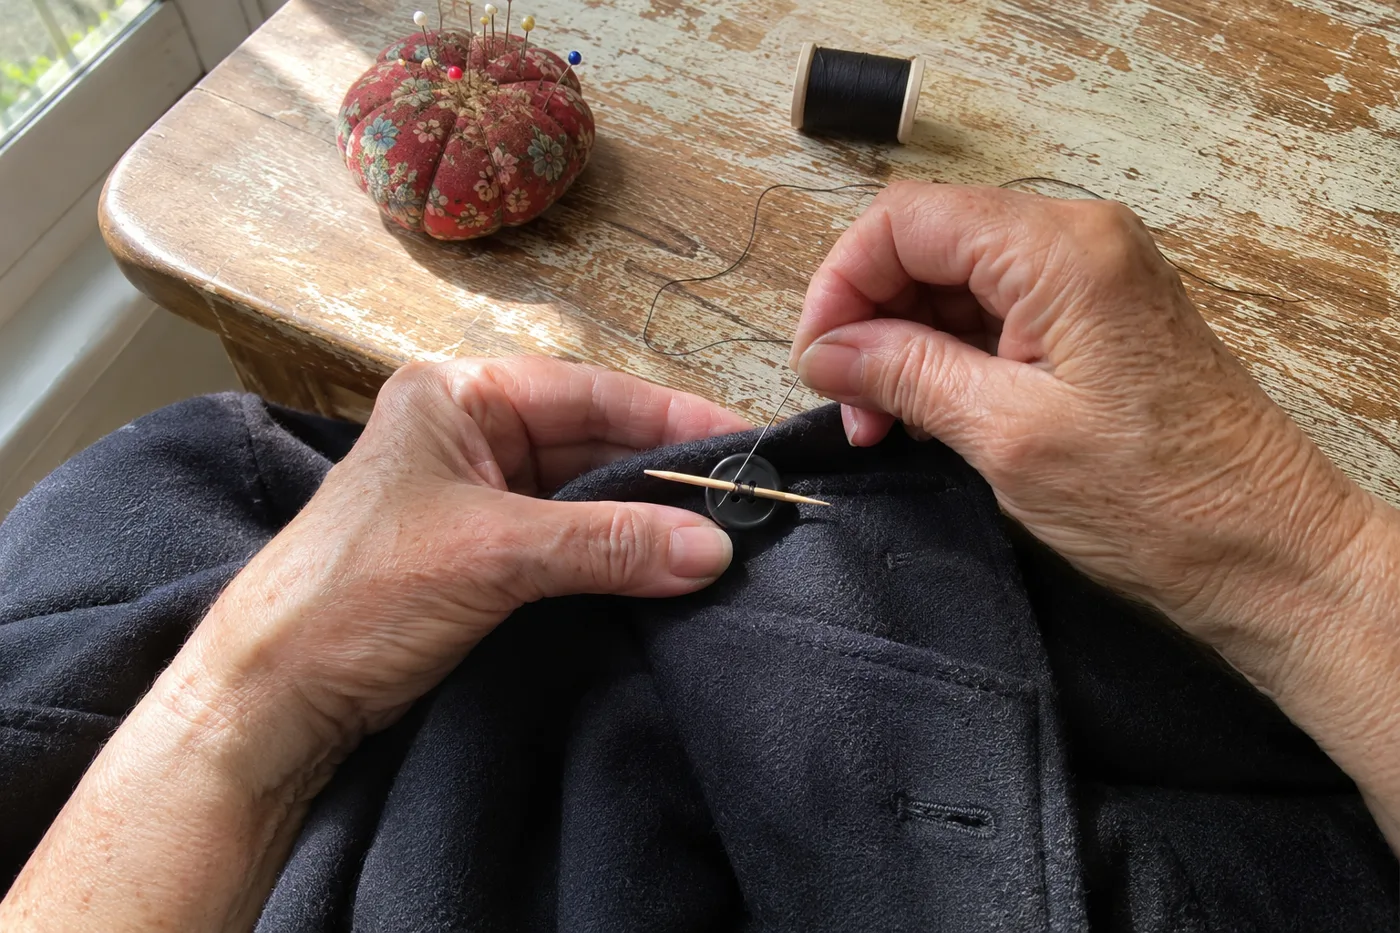
Her buttons didn’t come off. Store buttons seem to quit the first time you sit down to a big dinner.
The difference is a little column of thread called a shank. Lay a toothpick across the button and sew right over it.
Pull the toothpick out, which leaves slack under the button, then wind the thread around that slack several times before you knot it. The shank only needs to be long enough to button the garment without pulling tight.
On heavy coats there was sometimes a second button sewn inside, right behind the first. It takes the strain so the thread can’t rip through the wool. If you’ve ever found a plain button hiding inside a coat front, now you know what it was doing there.
#17 Letting down a hem as a child grew
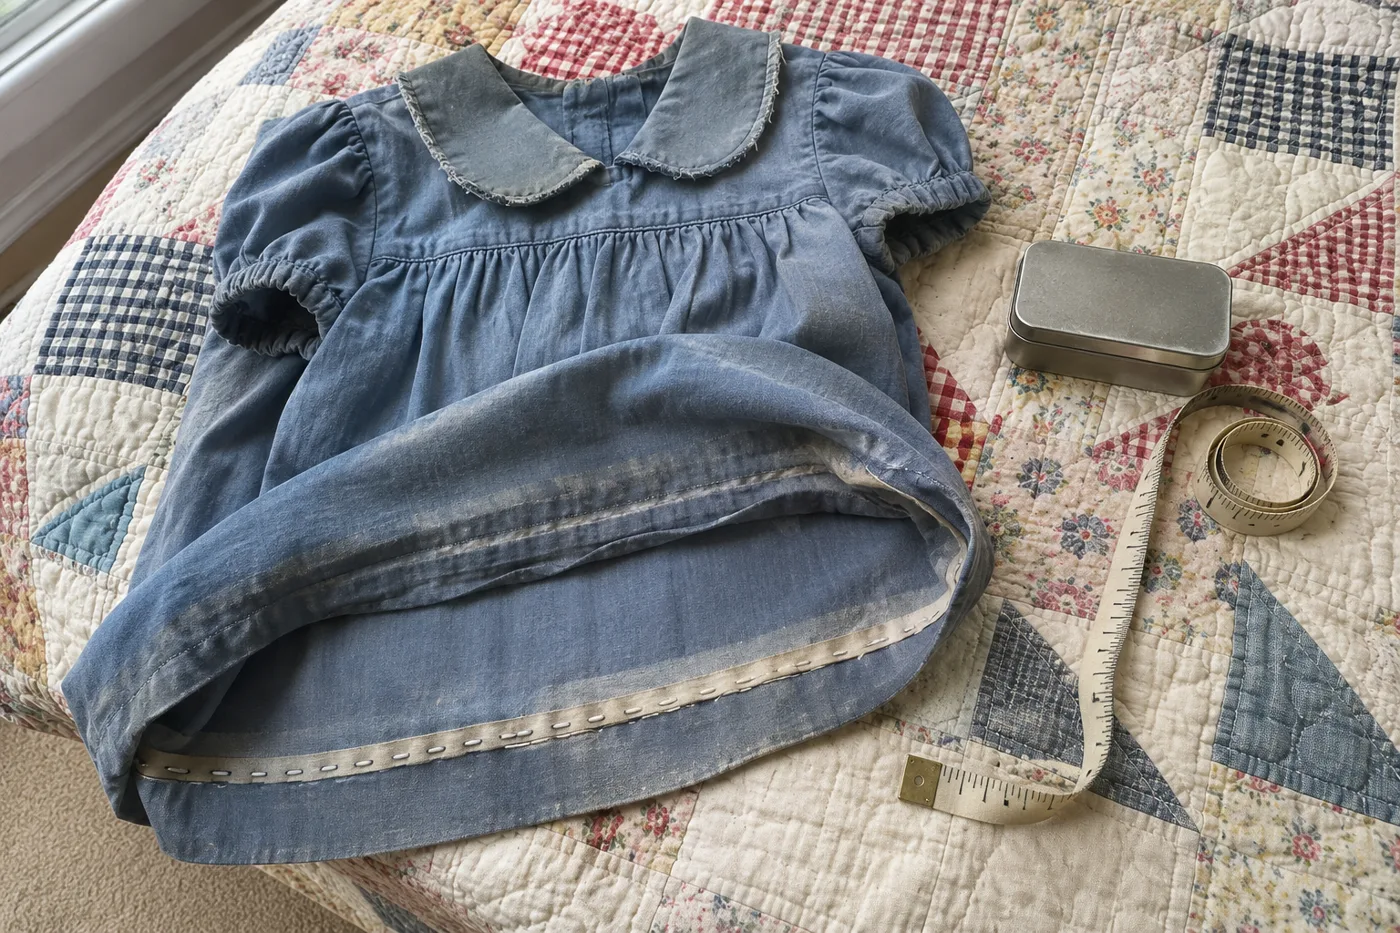
Turn up the hem of an old school dress and you’ll find a lot of cloth folded in there.
Vintage hems were often three or four inches deep, finished with stitches you couldn’t see from the front. Most clothes from the store now have a skinny machine-rolled hem with nothing to give.
That extra cloth was a plan. The stitches came out, the hem went down an inch or two, and the dress got another year.
Then there was the line. One patent calls it “an unsightly dirt or fade line” where the old hem sat, and it shows on the outside once you lengthen it.
That pale stripe around the bottom of a skirt meant the dress had already been let down once.
#16 Hand-hemming trousers so no stitch shows
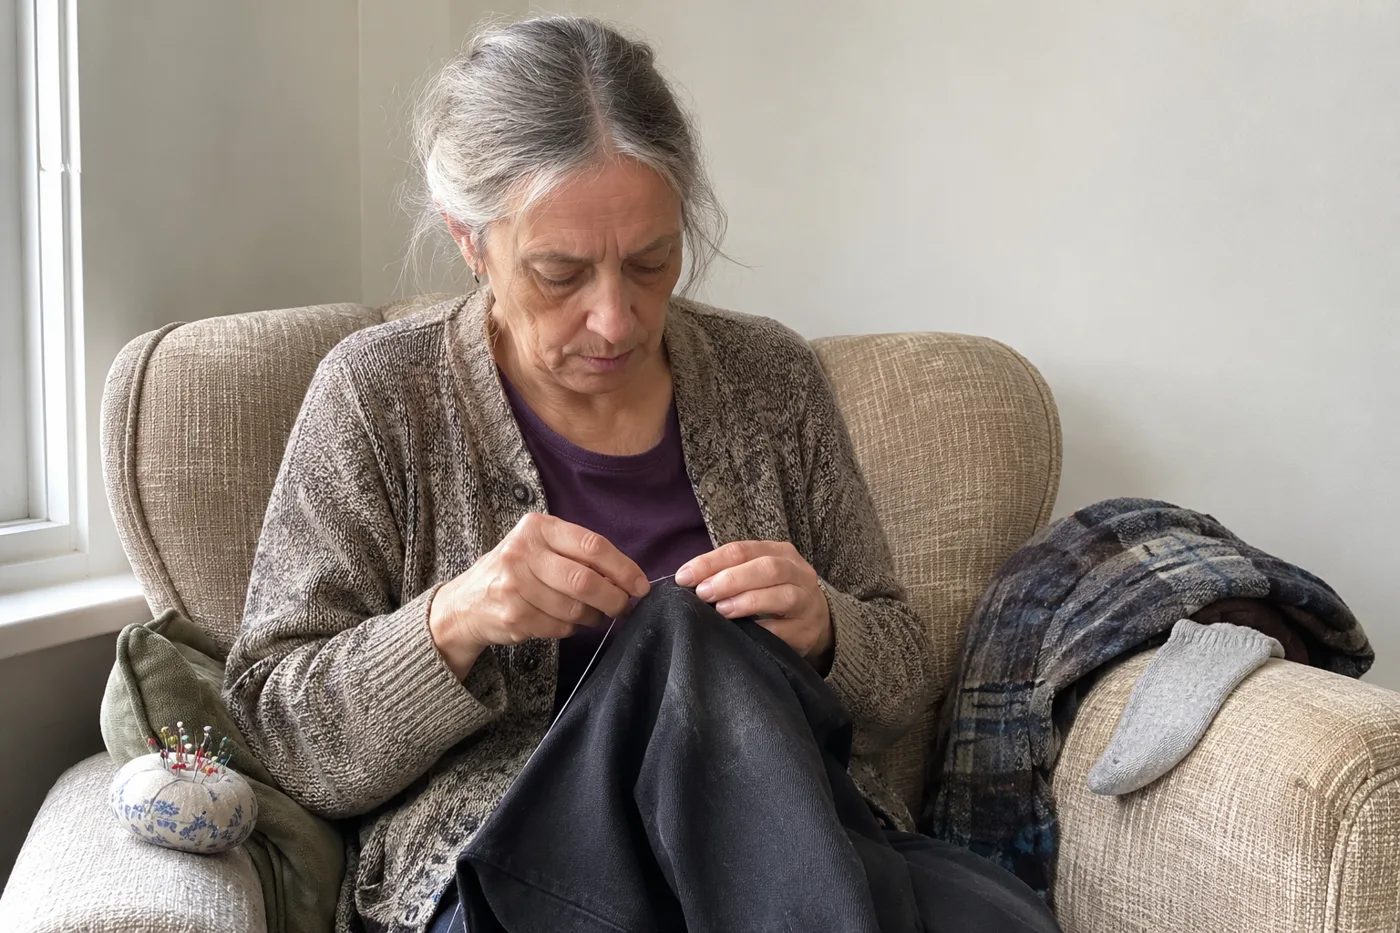
“Stand still.” That usually came from somebody with pins in her mouth, while you stood on a kitchen chair and she went around the hem.
Then she sat down and sewed it by hand with a blind stitch. The whole secret is how little it takes. Each stitch catches only a few threads of the outside fabric, then travels inside the fold. Done by hand, the stitching sits about 1/8 to 1/4 inch in from the hem’s edge.
Sewing machines have their own version. The machine makes a few straight stitches inside the hem, then one zigzag that just nips the front. Only the zigzags show on the outside.
If there’s a machine in the house, look for the blind-hem setting. It’s often the odd-looking stitch on the dial that nobody ever tried.
#15 Patching the knees of a kid’s jeans
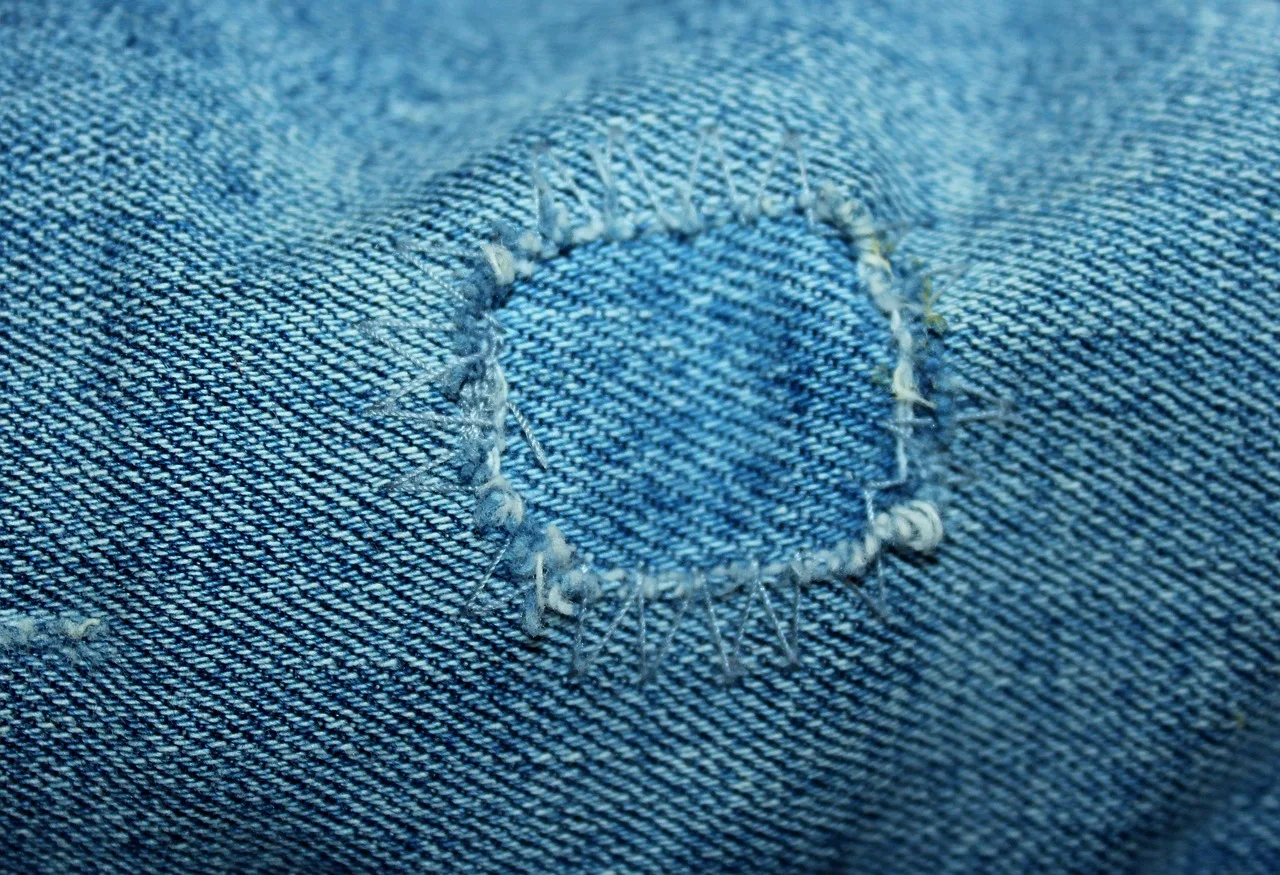
Knees went first, especially on kids who spent recess on the blacktop.
The fix plenty of kids wore was the iron-on patch, and it’s younger than you might think. A later patent says iron-on patches came in during the 1970s, first made for the knees of denim jeans.
They spread to elbows and seats and became something of a fashion item, mostly on children’s clothes. That cute patch on a little knee started out as a repair.
They still earn their keep. Paul Chevallier, who taught himself to sew, founded the clothing line Toofbush and now makes sewing tutorials, told HuffPost: “Even iron-on patches can stop a hole or worn area from spreading into a big rip.”
So why did patching fade? Partly because the jeans got cheap.
Clothes got cheaper, everything else didn’t
- From 1980 to 2025, the overall cost of living rose about 297%.
- Over the same years, clothing prices rose only about 45%.
- Compared with everything else you buy, clothes now cost roughly a third as much as they did in 1980.
#14 Closing a split seam with the hidden ladder stitch

Sewing videos online keep showing off an “ancient hidden stitch” that closes a rip so you can’t find it afterward. It has a plain old name: the ladder stitch.
It’s also called the mattress stitch, and it closes a seam invisibly from the outside. That’s how a split pillow, a down coat or a teddy bear got fixed without turning anything inside out.
Start with the knot hidden inside the fold. Take a small stitch along one folded edge, then start the next one in the opposite fold, directly across from where the thread came out. The threads crossing the gap look like ladder rungs. Alternate sides, then pull the thread and the edges roll in and meet.
Paul Chevallier of Toofbush puts it simply: “The key to success here is consistent spacing.” His trick for that is to sew over the gap on the machine first, with no thread in the needle. It leaves a neat row of holes for your hand needle to follow.
#13 Threading new elastic through with a safety pin
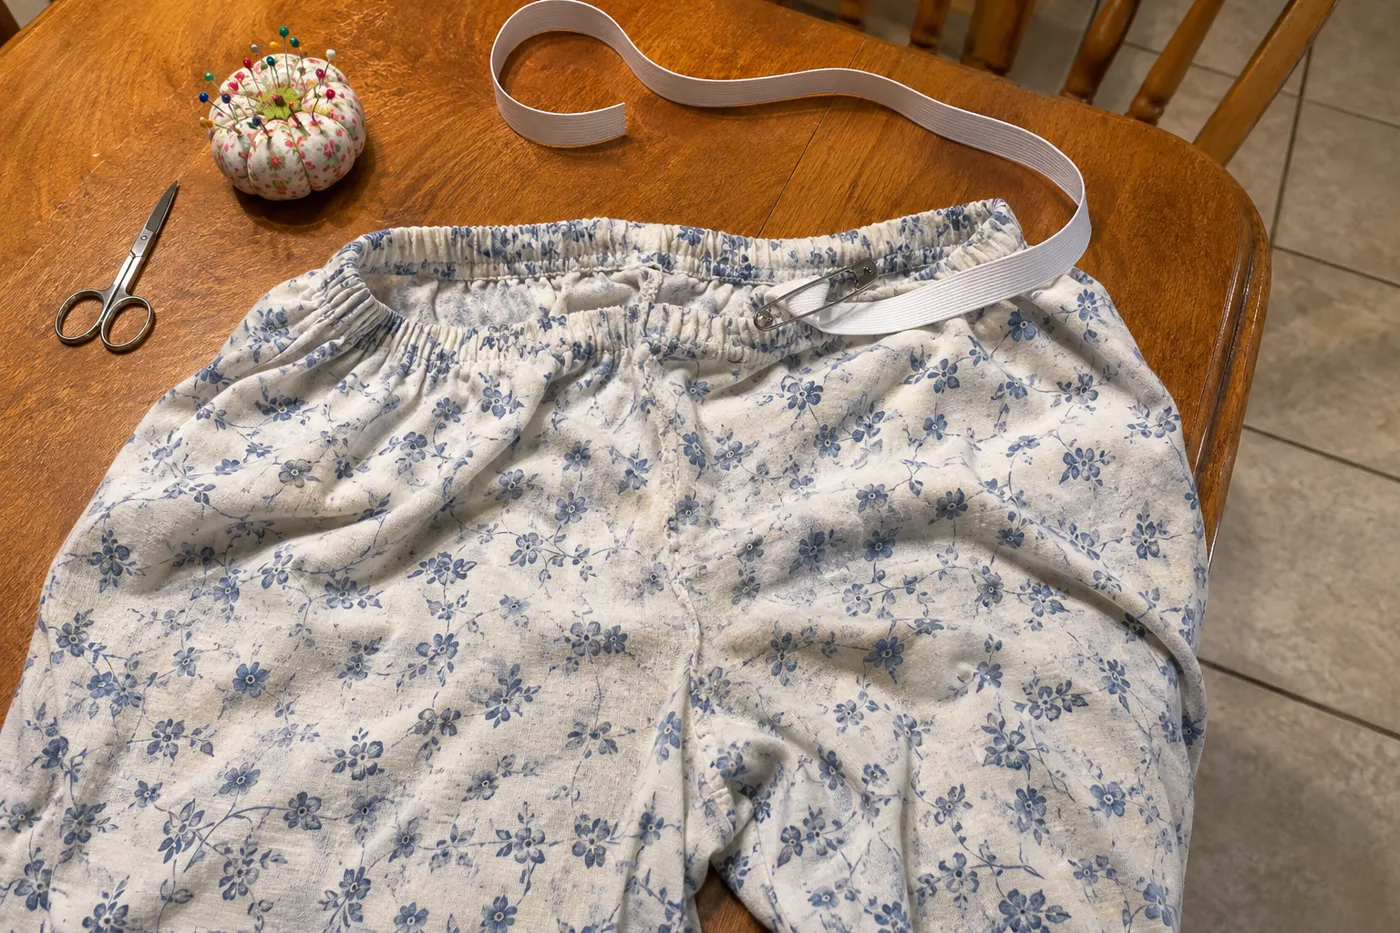
Pajama bottoms that wouldn’t stay up went to the table, not the trash. If the elastic ran loose in the waistband channel, a few snipped stitches opened it. Out came the tired old elastic, and a safety pin went on the end of the new piece. Then came the inching: bunch, slide, bunch, slide.
That safety pin was standing in for a bodkin, a tool made for pulling ribbon or cord through a channel of fabric.
In the 20th century safety pins got a rounded edge on the end that goes in first, and that’s what let them do a bodkin’s job.
#12 Replacing a broken zipper instead of tossing it

By the time a skirt zipper split, it was a known job. Out came the seam ripper, the little forked tool for picking stitches. The old zipper came out, the new one got pinned in, and the machine did the rest.
The secret was a skinny attachment called the zipper foot. It lets the needle stitch close to the zipper’s teeth. In the method shown in Singer’s guide, the stitching runs just under 1/8 inch from the teeth.
The word “zipper” started as a sound. B.F. Goodrich coined it for the fastener on his company’s galoshes.
#11 Sewing a name tape into every piece for camp
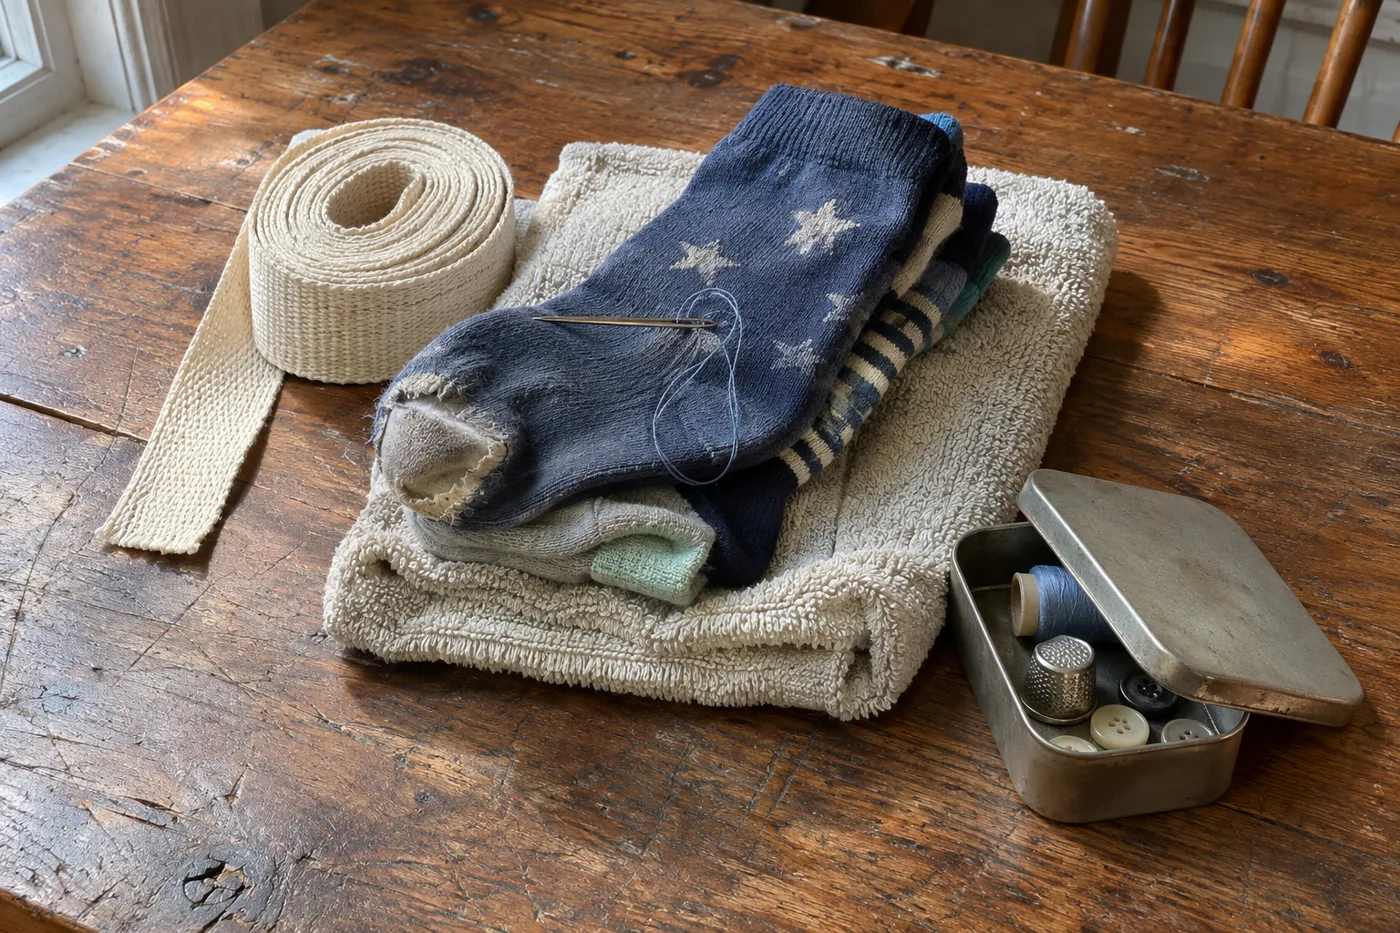
If you went to camp or boarding school, you may remember the roll of woven name tapes, your name over and over. Then came the evening at the kitchen table when every sock, towel and pair of underpants got one sewn in by hand. Every single one.
Those tapes have a long history. Cash’s, an English company, had built its business on them by around 1900 and still weaves them today.
Iron-on labels look easier, and for most things they are. But even a label company admits water wears iron-ons down, so swimsuits and gym clothes are best tagged with sew-on labels.
#10 Pinning a tissue pattern for an Easter dress
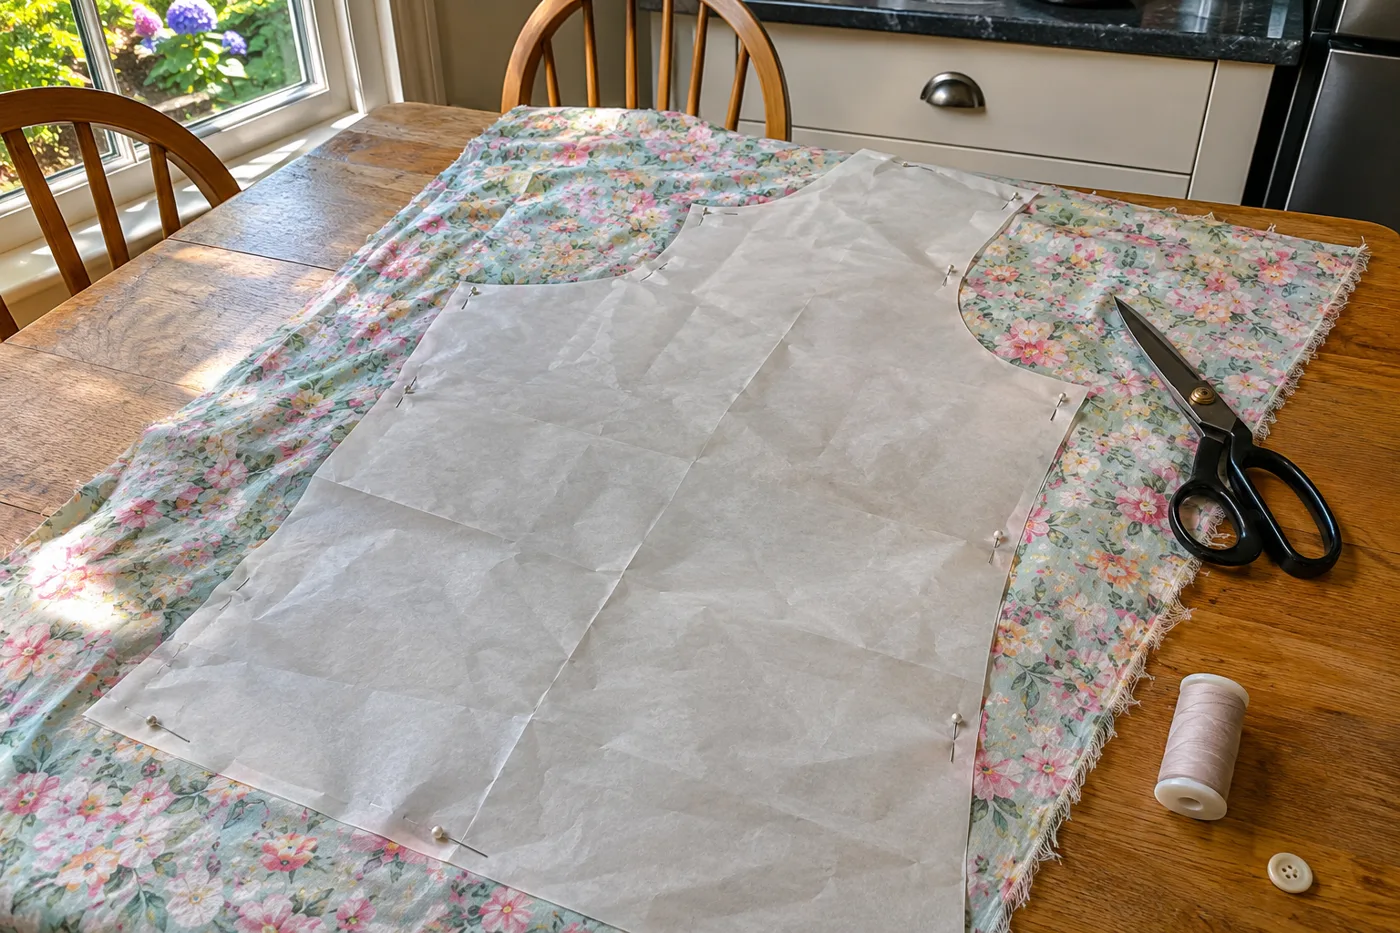
The tissue crackled. It came out of the envelope folded in a way nobody could ever repeat, and it got pinned flat on the kitchen table, or on the living room floor if the table was too small.
Patterns were cheap. Simplicity started out in 1927 at around 15 cents, well under other brands. The oldest patterns had no printed cutting lines at all, just little punched holes.
Pattern markings went onto the fabric with a tracing wheel, a small toothed wheel rolled over dressmaker’s carbon paper that left a line of colored wax. On delicate fabric, some women used tailor’s tacks instead, loose tufts of thread stitched through pattern and cloth.
In 1952, LIFE photographed the O’Neil family’s ten daughters in matching Easter outfits made from McCall’s patterns. Mrs. O’Neil sewed, the biggest girls ironed and the middle-sized girls attached buttons.
#9 Sewing a Halloween costume before boxed ones took over
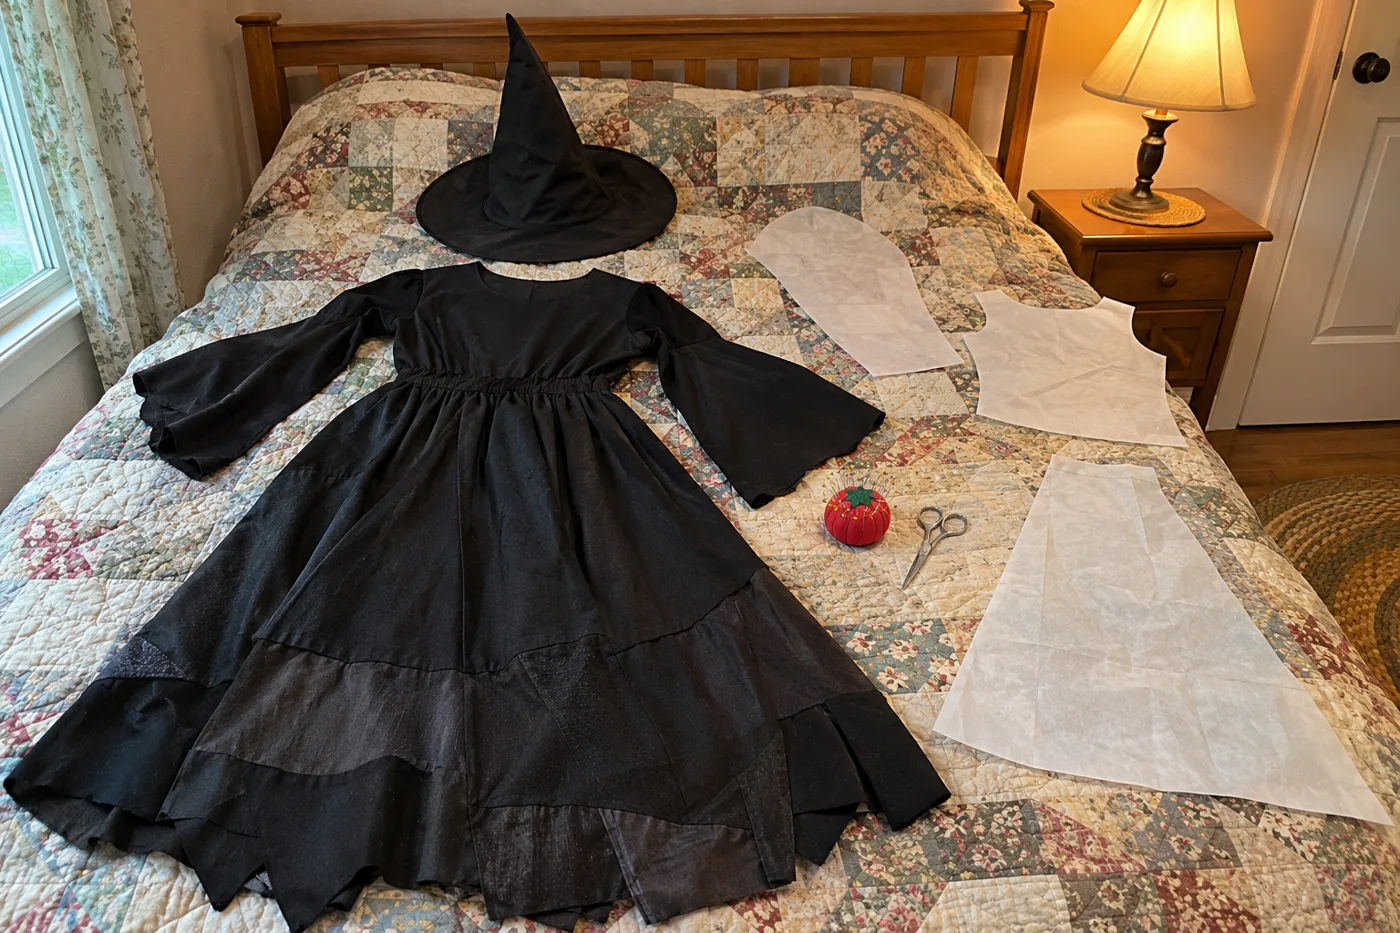
Before the plastic mask with the elastic that snapped against your ears, costumes came off the kitchen table. Butterick sold Halloween patterns by 1924: a witch, a ghost, two clowns, a devil and a butterfly.
Then the boxed costumes moved in, Ben Cooper’s licensed TV-character costumes that sold for less than $3 each.
So depending on the year and the house, you may have been a cartoon in a crinkly store-bought smock or a ghost made from a sheet. Plenty of kids were both, a few years apart. The sheet had better eyeholes.
#8 Sewing a dress from a printed flour sack
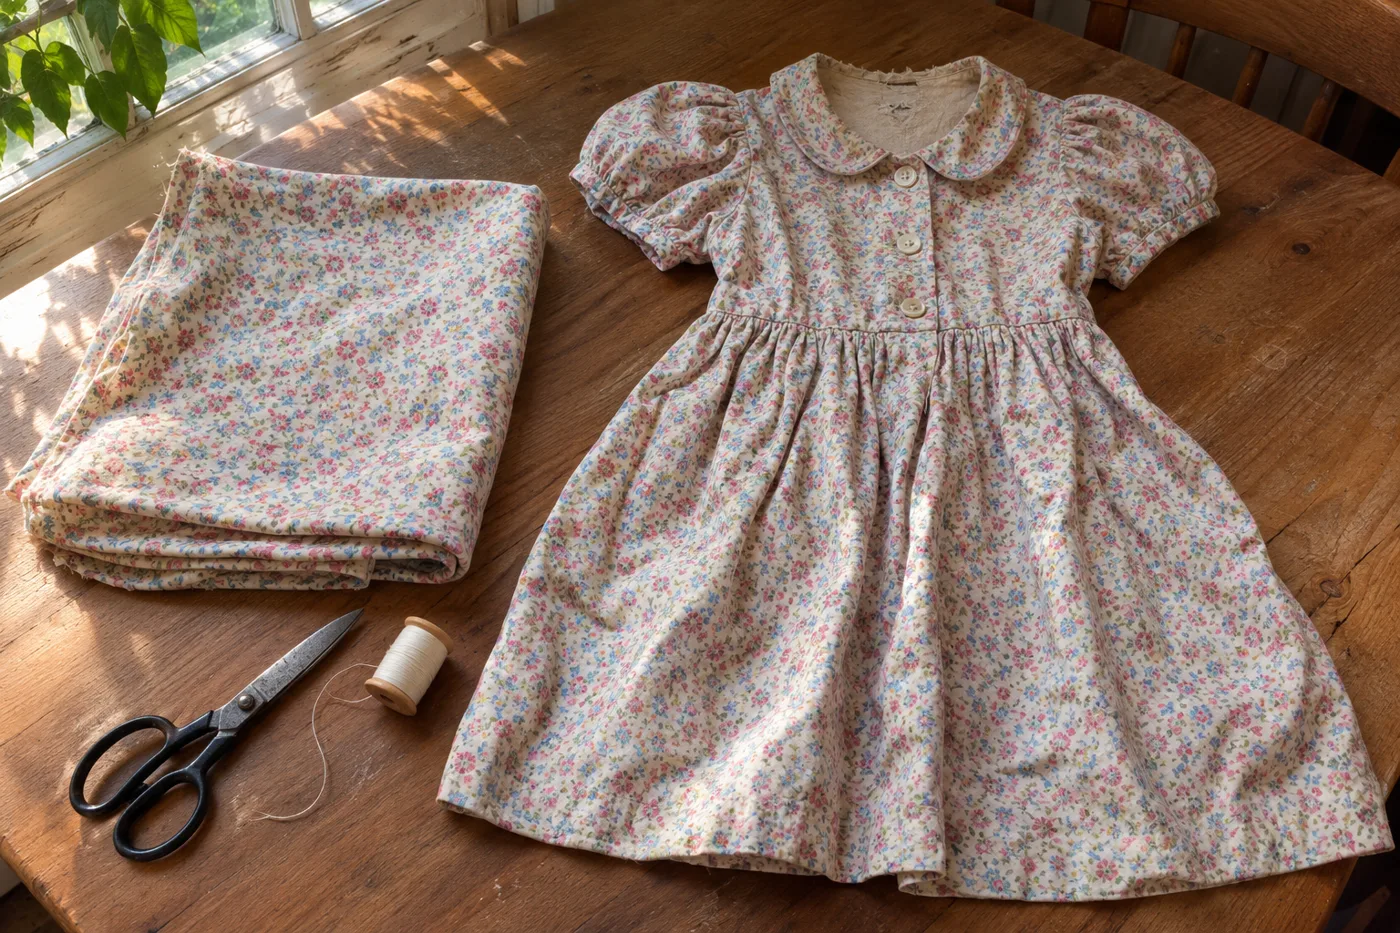
Flour and feed came in cotton sacks, and from the 1920s to the 1950s many mills printed them in dress-worthy patterns on purpose. By 1925 one company was packing Gingham Girl flour in checked cloth.
A 100-pound bag gave a little over a yard of fabric. A grown woman’s dress took four or five bags, sometimes more, which is why wives sent husbands to the feed store with “strict orders to get bags all with the same design.”
During World War II, an estimated 3 million American women and children wore feed-sack clothes. Most of that sack printing had stopped by the early 1960s. Got an old apron or quilt with a small, bright cotton print that doesn’t match anything else in the house? It may have come from a flour sack.
#7 Making buttonholes with the old attachment or by hand
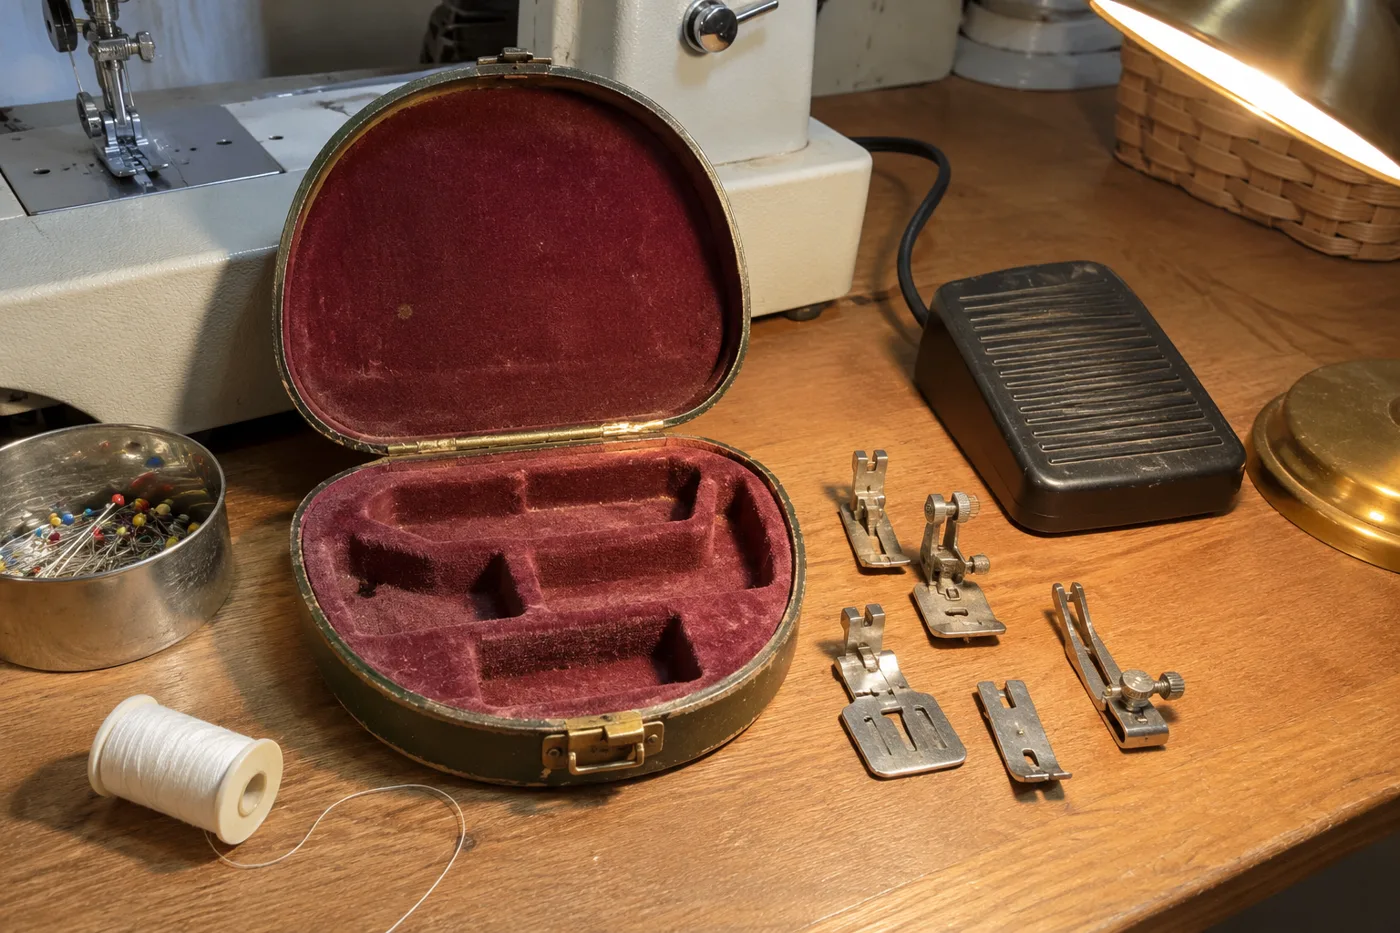
Some sewing drawers held a gadget in a case shaped like a little flying saucer. Collectors really do call the 1950s and 1960s Singer buttonholer cases “space ship/Jetson” style. Inside were five templates, little metal shapes for different buttonholes.
Clamped onto the machine, it did something odd: it moved the fabric instead of the needle. That template style ran from 1948 into the late 1980s, longer than any other Singer buttonholer.
Without one, buttonholes were worked by hand with tight, close stitches along the cut edge. Good coats sometimes got bound buttonholes instead, the raw edges wrapped in strips of fabric. Most machines now make buttonholes on their own, so a spaceship case at a yard sale is a museum piece that still works.
#6 Finishing a seam so nothing frayed inside
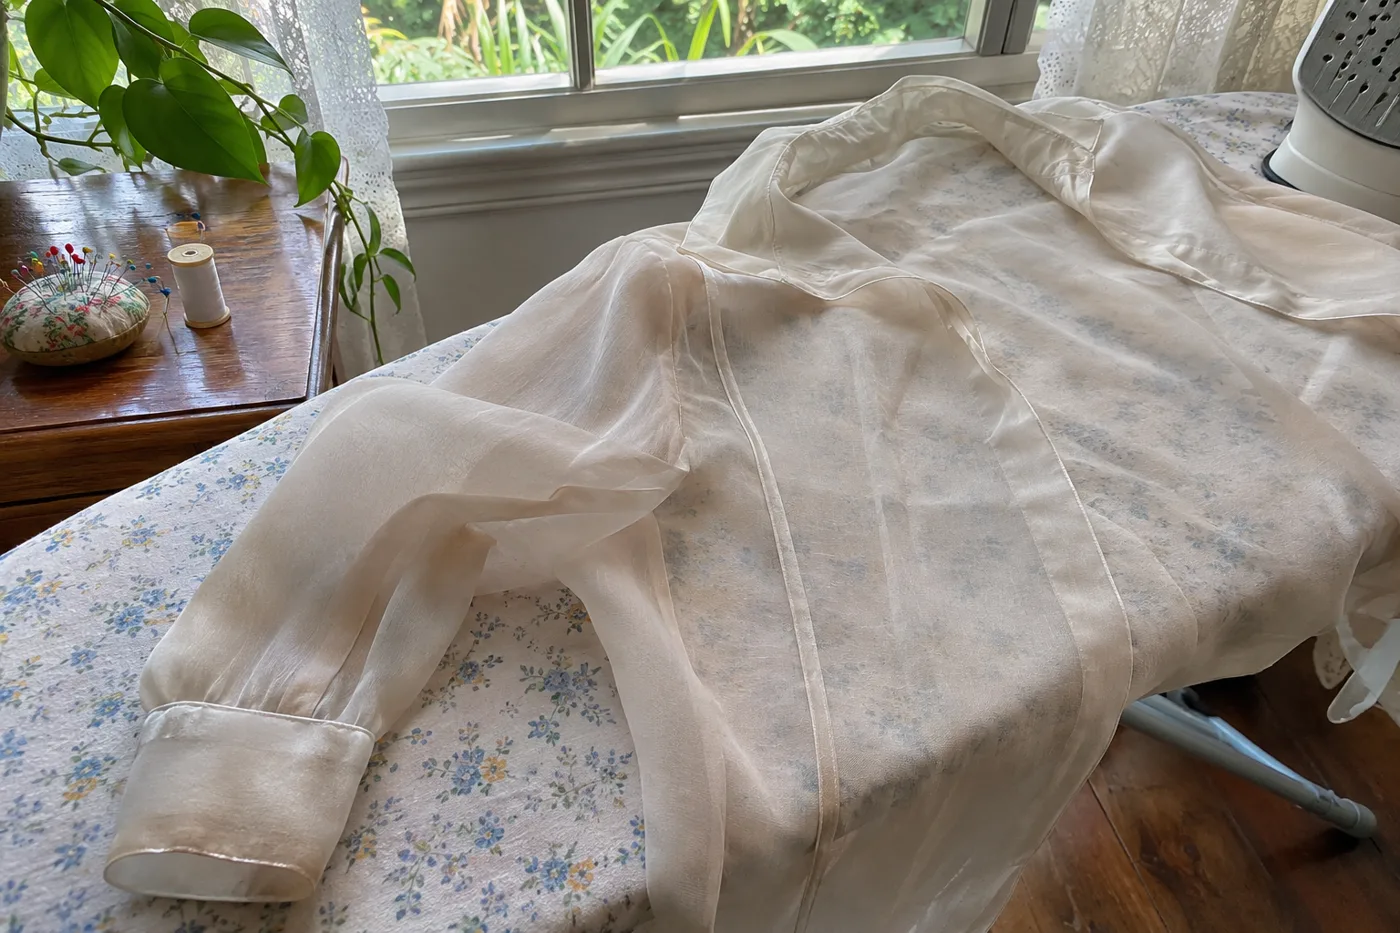
Turn a store blouse inside out and you’ll usually see a fuzzy, thread-wrapped edge from a factory machine. Turn one of her dresses inside out and it might look nearly as neat as the front.
That was the seam finish. The best known is the French seam, sewn twice so the raw edges end up fully enclosed. First sew with the backs of the fabric together. Trim close, then fold so the fronts are together, and sew again, trapping the trimmed edges inside the second seam.
The fancier cousin is the Hong Kong finish, where each raw edge gets wrapped in its own strip of fabric. It shows up on silk, chiffon and unlined jackets, where the inside is on display every time you take one off.
#5 Sewing the flat-felled seam used on jeans
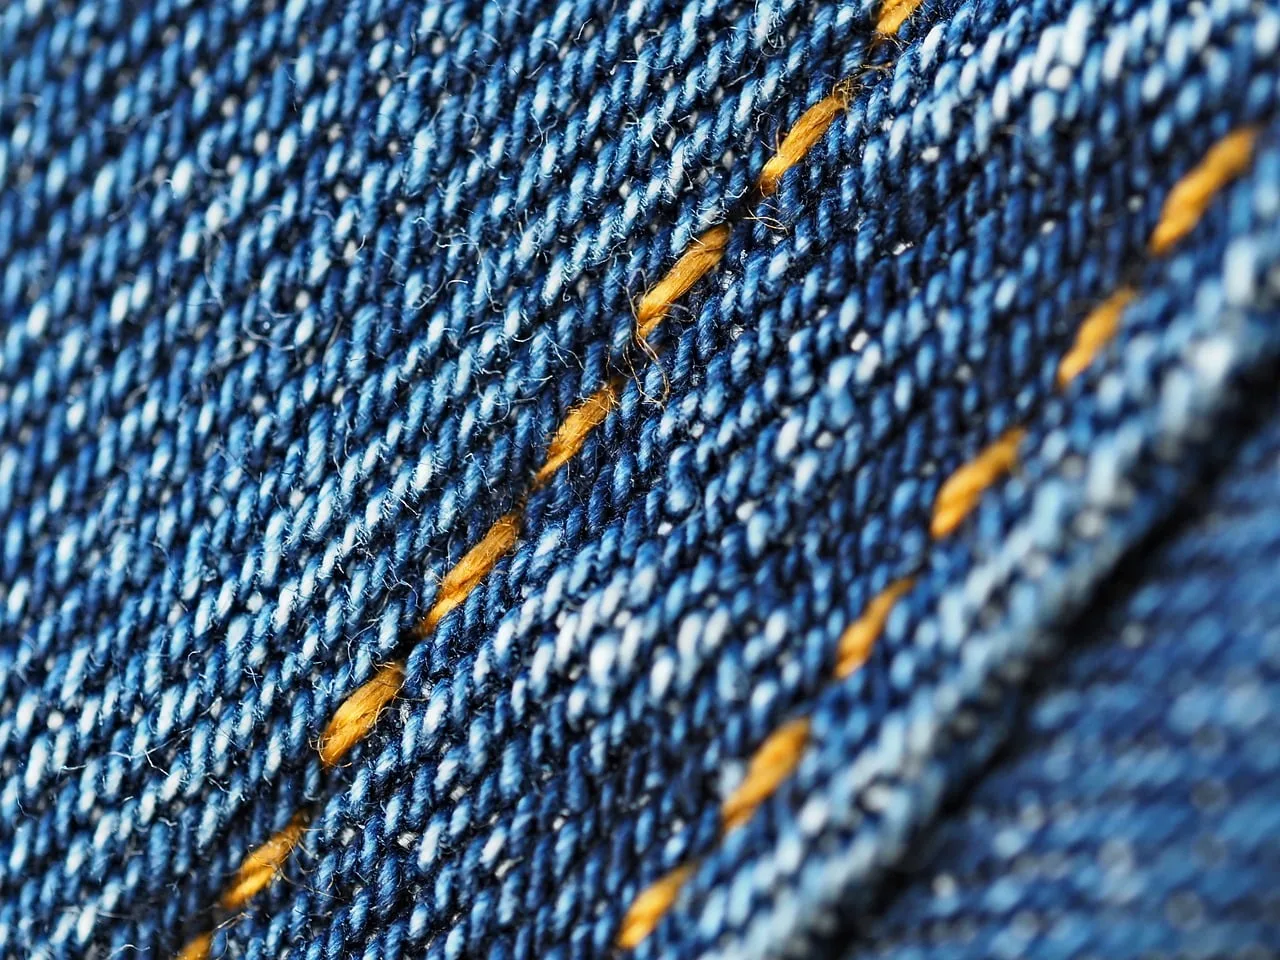
Look at the inside leg of any pair of jeans. Two neat rows of stitching, no raw edge anywhere. That’s a flat-felled seam, and it’s the seam used on denim jeans.
One edge gets tucked inside the folded edge of the other, and the fold gets stitched down flat. The fold keeps the raw edges from fraying.
Factories sew it on a double-needle machine, mostly on the inseam, the yoke across the back and the crotch. At home it took two rows of stitching, a hot iron and a good deal of patience. That’s why a homemade pair of play shorts could be handed down to the next kid.
#4 Pressing every seam before sewing the next
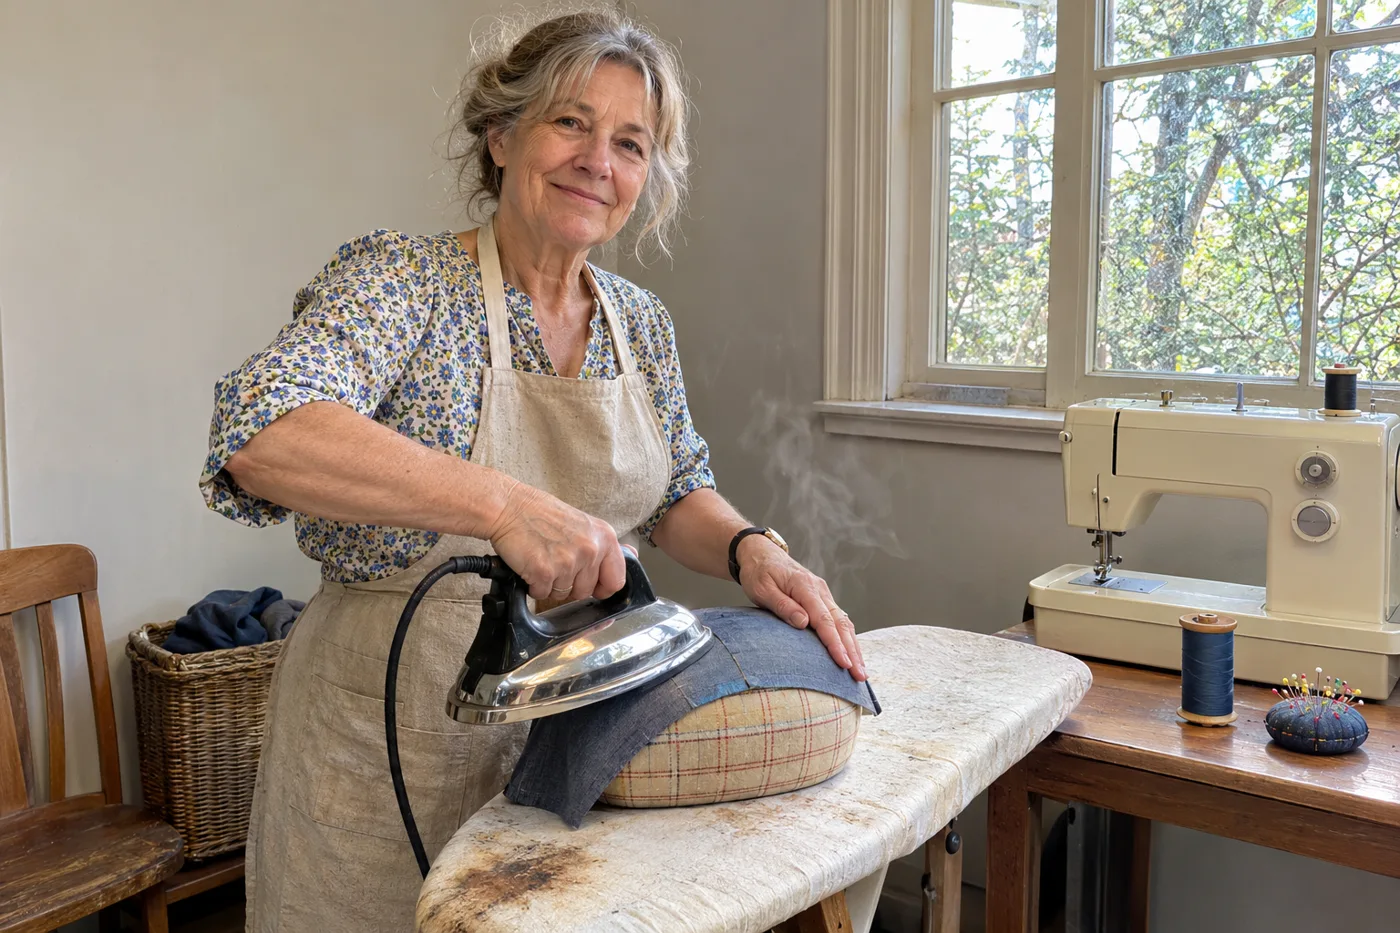
The iron stayed on the whole time she sewed. Sew a seam, get up, press it, sit back down. It looked like stalling.
Pressing as you go is the step beginners skip, and the one that improves the work the most.
For curves there was a tailor’s ham, a firm, curved pillow of heavy canvas stuffed with sawdust or fabric scraps, used for pressing shaped areas such as collars. Its skinny cousin, the seam roll, handled sleeve cuffs and pant legs.
If you’ve got a lumpy stuffed pillow like that on a shelf, hang onto it.
#3 Oiling and cleaning the machine like clockwork
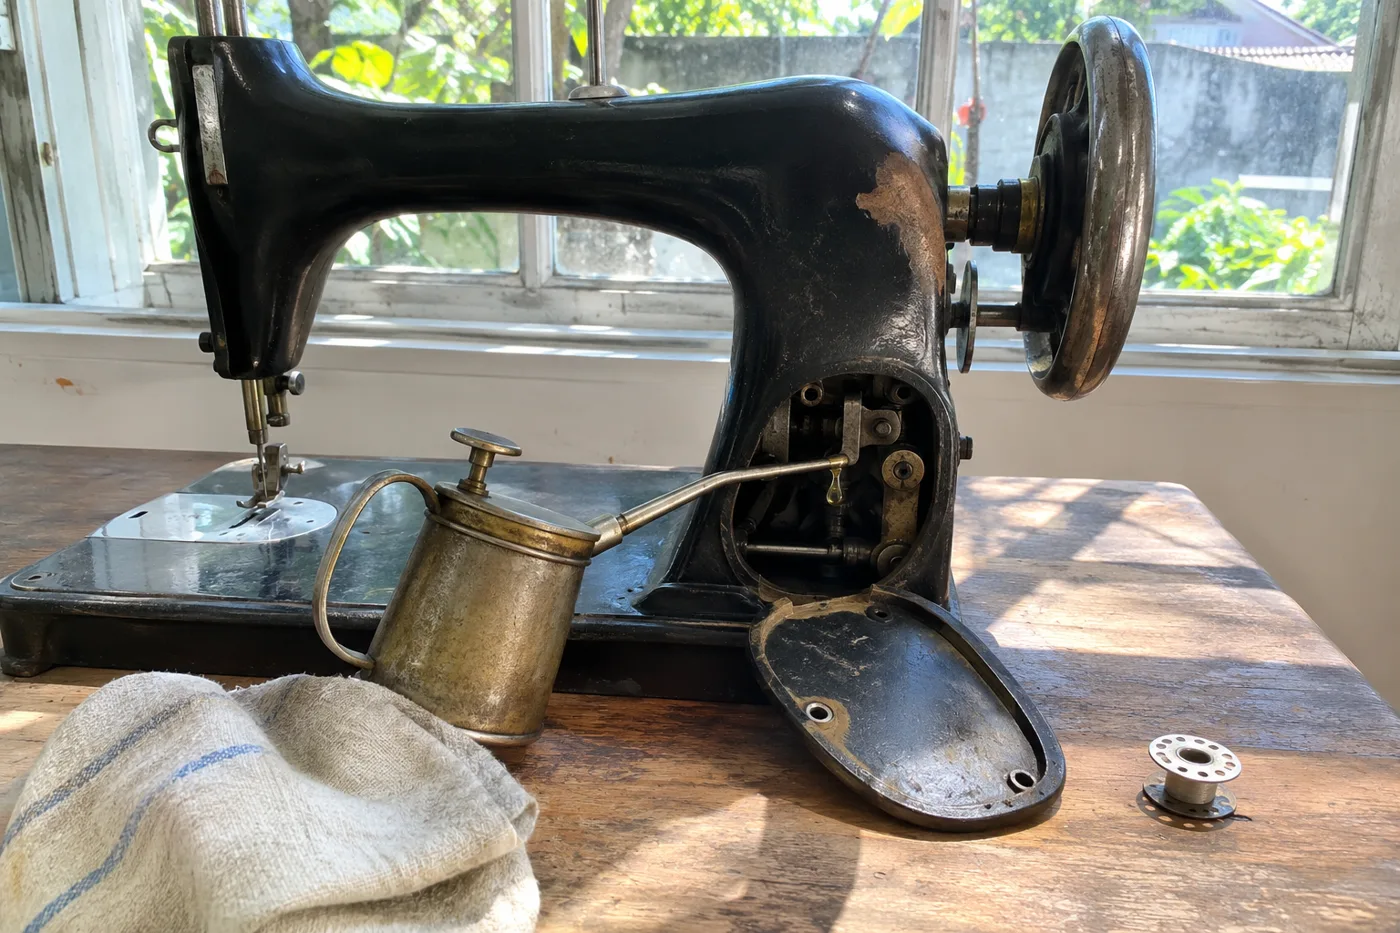
There was a little can with a long spout, and the machine got a drop at every spot the manual pointed to. The old rule for vintage Singers was to oil it after every 8 hours of use.
Follow your own machine’s manual for oiling. Singer’s general advice for today’s machines is gentler: if you sew once a week, oil it once a month, and get a professional tune-up every three to four years.
Then there was the lint. Australian sewing teacher Evelyn Wood, founder of Vintage Sewing School, says people lift the metal plate under the needle and find what look like felt pads, which turn out to be packed-down fluff. She also urges changing the needle. Needles go blunt long before they break.
#2 Altering hand-me-downs for the next child
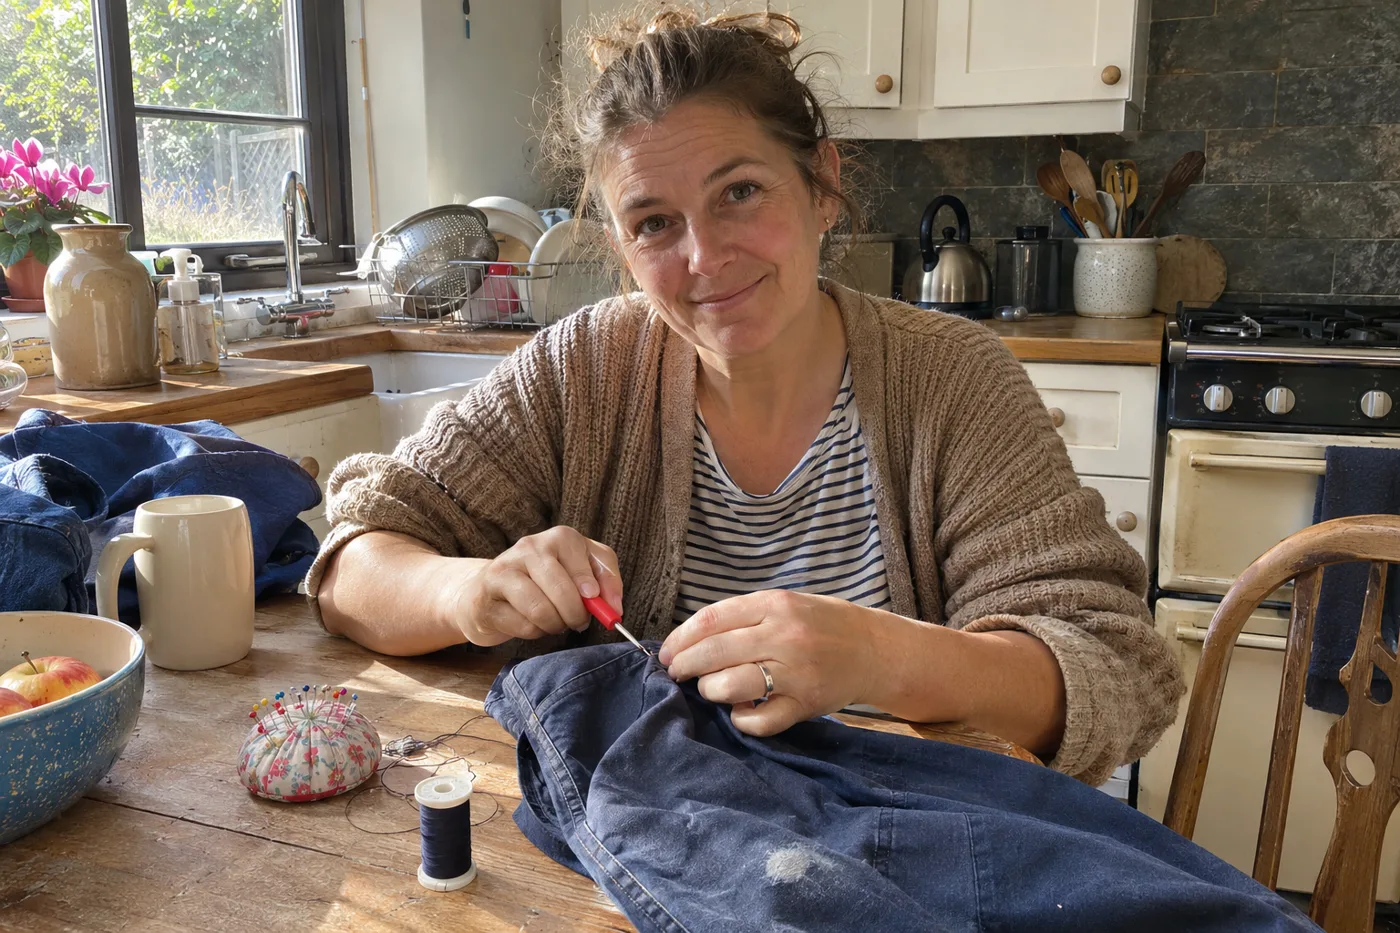
Hand-me-downs rarely fit the next child as they were. So the seams came out.
That worked because older clothes were built for it. A tailor writes that older clothing was meant to last longer and be handed down, so extra fabric was often left in. That extra is the seam allowance, the strip of cloth between the stitching and the cut edge.
She’d open the seam, sew it again closer to the cut edge, and press it flat. A pair of trousers could get a whole new waist that way. Try the same thing on most store clothes now and you’ll find almost nothing tucked inside.
How much room was left to let out?
- Men’s trousers, in one tailor’s examples: often about 1.5 inches to let out at the waist
- A modern women’s shirt with only about 1/4 inch of seam allowance: nothing to let out
#1 Piecing a quilt from the family’s old clothes

Some quilts are a family album you can sleep under. That blue square was a church dress. The plaid was a work shirt. Plenty of families can still walk you around one block by block.
Quilts made from worn-out clothes were common. A museum show of quilts from about 1920 to 1950 described their makers as “thrifty women who reused clothing, flour and feed sacks, and other recycled fabrics.”
What usually gets lost is the story. Quilt historian Barbara Brackman writes that quilts are often made of clothing scraps, but “we rarely see any documentation remaining.” Then she shows an 1872 quilt where someone wrote right on the blocks in ink: “Fanny Wolf’s dress.” “Aunt Mary Bucks dress.”
That’s the trick from 1872: write down whose clothes the pieces came from, right on the pieces, the way that maker inked names onto her blocks. For old clothes waiting to become a quilt, label each piece before you cut. Do it while somebody can still tell you which dress was which.
The bottom line
Watching someone mend teaches you the rhythm and not the steps. You can watch the needle go in and out for years and still not know how to do it yourself.
That part can still be learned.
A plain step-by-step video has gotten plenty of sewing machines out of their cases after years in storage.
Start where your mother would have: one loose button, one toothpick and a cup of coffee at the kitchen table.
Bonus: What to keep from an old sewing basket
- The button tin. Every loose button in there is a chance to practice the toothpick shank from #18.
- Pattern envelopes with handwriting on them. A note like “add 2 inches” in the margin shows what the woman who sewed it really did.
- The machine manual, if it’s still in the drawer. The oiling diagram is in there.
- Any half-finished project with the pins still in. It shows you exactly which step it stopped on.
- The odd scraps too small for anything. They’re the right size for a quilt block, or a label for one.
Questions people also ask
Why did people stop mending their own clothes?
Partly because clothes got cheap compared with everything else. Home sewing in the US peaked in 1958 and fell steeply in the 1970s.
What is a darning egg used for?
A darning egg holds a sock’s shape while you mend a hole in it. A light bulb or even a lemon will do the same job.
How do you sew a button on so it doesn’t fall off?
Sew it over a spacer, such as a toothpick, then wrap the slack thread underneath to form a shank. The shank keeps the button from pulling tight and popping off.
What is the “invisible stitch” everyone talks about in sewing videos?
It’s the ladder stitch, also called the mattress stitch, as Paul Chevallier’s demonstration shows. It’s the usual way to fix a split seam in a pillow, a coat or a stuffed toy.
Why are the hems on old clothes so much deeper than new clothes?
Because the extra cloth was meant to be used. A deep vintage hem on a child’s dress could be let down as the child grew. A narrow machine-rolled hem has little extra to give.
Related posts:
22 Things You're Saving That Your Children Will Throw Away
24 Things People Over 60 Still Do When Cleaning That Experts Beg Them to Stop
25 Homemade Christmas Decorations From the 1960s, and What Became of Each One
22 Things Home Economics Taught Girls in the 1960s That Schools Dropped
25 Church Bazaar Crafts Every Town Sold That Nobody Makes Anymore
24 Crafts Every Woman Made in the 1970s That Nobody Does Anymore

- 24 Things People Over 60 Still Do When Cleaning That Experts Beg Them to Stop - November 6, 2026
- 21 Handmade Gifts From the 1970s Your Grandchildren Have Never Seen - November 6, 2026
- 25 Homemade Christmas Decorations From the 1960s, and What Became of Each One - November 6, 2026

Leave a Reply